
How to Grind Ink Sticks
Have You Been Doing It Wrong? A Calligraphy Pro Explains the True Way to Grind Ink
For those who enjoy calligraphy—how do you feel about “grinding ink”?
“It takes time and is a hassle,” “My hands get dirty, and bottled ink is good enough anyway.” If that sounds familiar, you might have been avoiding solid inksticks lately.
But what if that “hassle” actually comes from grinding the ink the wrong way?
This article overturns common practices that many people don’t know—or misunderstand—about ink grinding.
We’ll share eye-opening tips that let you create a surprisingly high-quality, custom ink in just five minutes.
Once you read this, the time spent grinding will turn from tedious prep into an enjoyable, creative moment.
Why the Usual “School Method” Doesn’t Work
Many of us learned something like this in school calligraphy classes:
First, fill the recessed part of the inkstone (the “sea”) with plenty of water. Move a little water up to the flat area (the “hill”) and grind there; when it gets thick, return it to the sea. Then lift water to the hill again… and repeat.
At a glance it seems reasonable, but it’s actually very inefficient.
From a professional perspective, this approach has three major problems.
- It takes far too long. Making all the water in the sea a uniform thickness takes an enormous amount of time—an undeniably inefficient process.
- It easily makes you feel “this is a hassle.” The more time it takes, the more laborious it feels, which can lead to negative feelings about grinding and even push you away from calligraphy itself.
- It fails to draw out the ink’s true qualities. With this method you can’t fully bring out the ink’s natural color, flow, and fragrance. Even a fine inkstick becomes a wasted treasure.
In short, this method focuses too much on the water and doesn’t efficiently disperse the ink particles into it.
Below, we’ll introduce the “real way” to grind ink—please use it as a reference.
New Common Sense: The Correct Way to Grind Ink
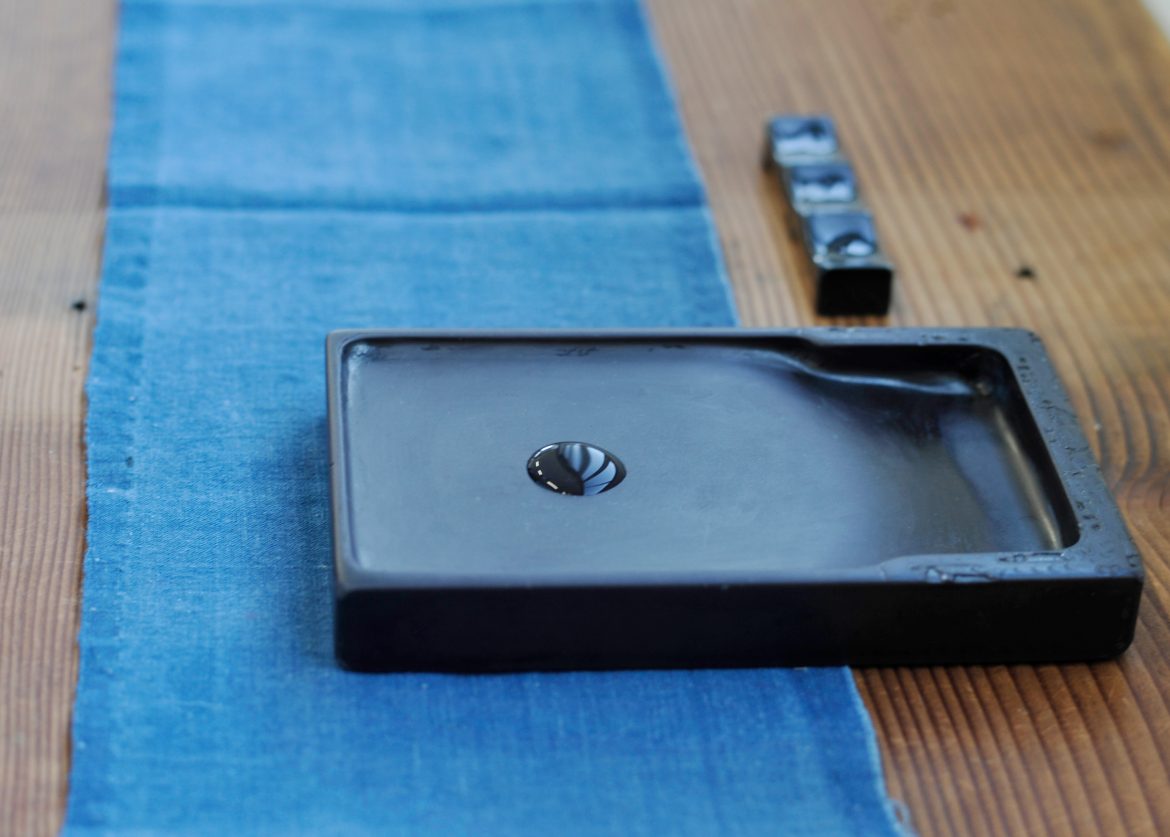
① Start with a puddle the size of a 500-yen coin.
So what exactly is the right method? Here’s the core idea.
Drip water onto the hill (the flat grinding surface). The amount of water is the crucial “trick.” You absolutely do not need enough to fill the sea. All you need is a very small amount—about the size of a 500-yen coin.
That’s it. Beginning with this tiny amount is the key to making a dense ink quickly.
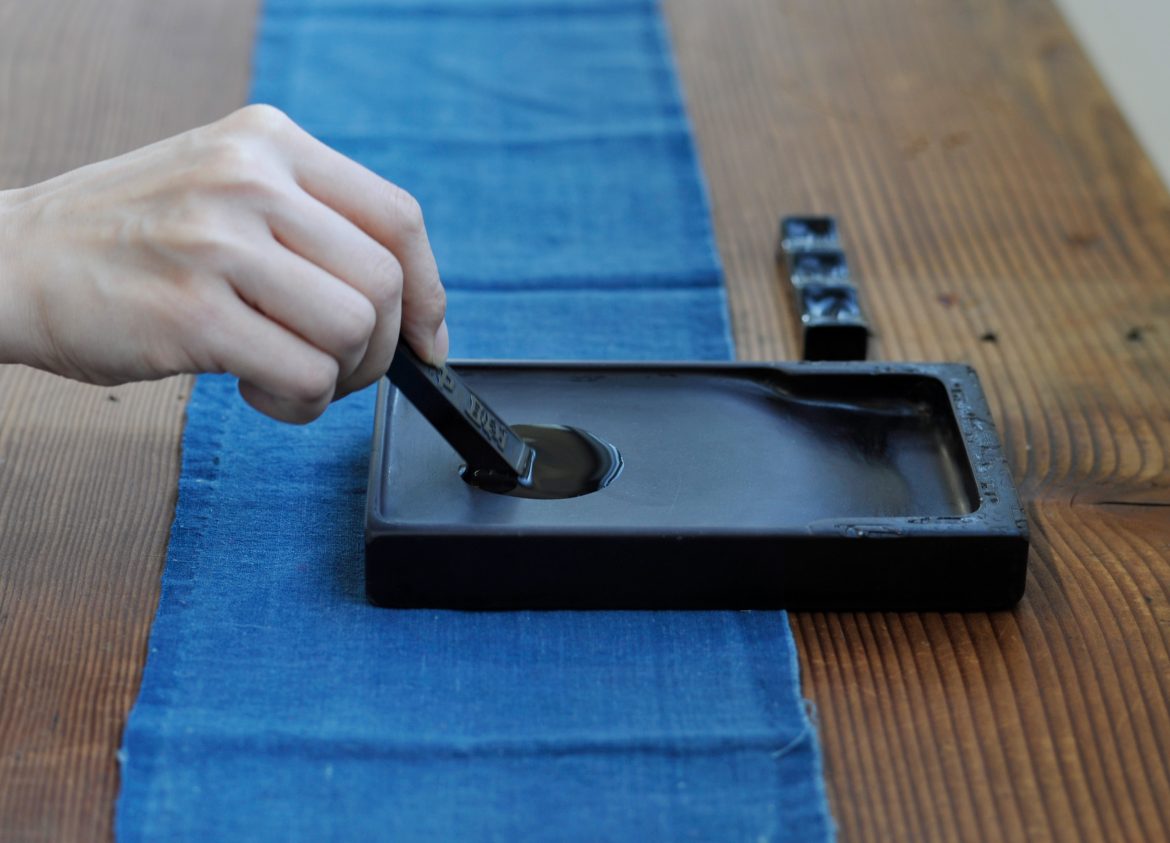
② Grind for about five minutes until it turns viscous.
With that coin-sized puddle, just keep grinding. The goal is to make the ink as dense as possible—until it becomes sticky.
Because there’s little water, it thickens surprisingly fast—only about five minutes. You’ll wonder why it ever used to take so long.
As for the motion—some say to grind in a spiral like the Japanese “の,” others say straight up and down. Either is fine. Use the motion that feels comfortable and focus on density.
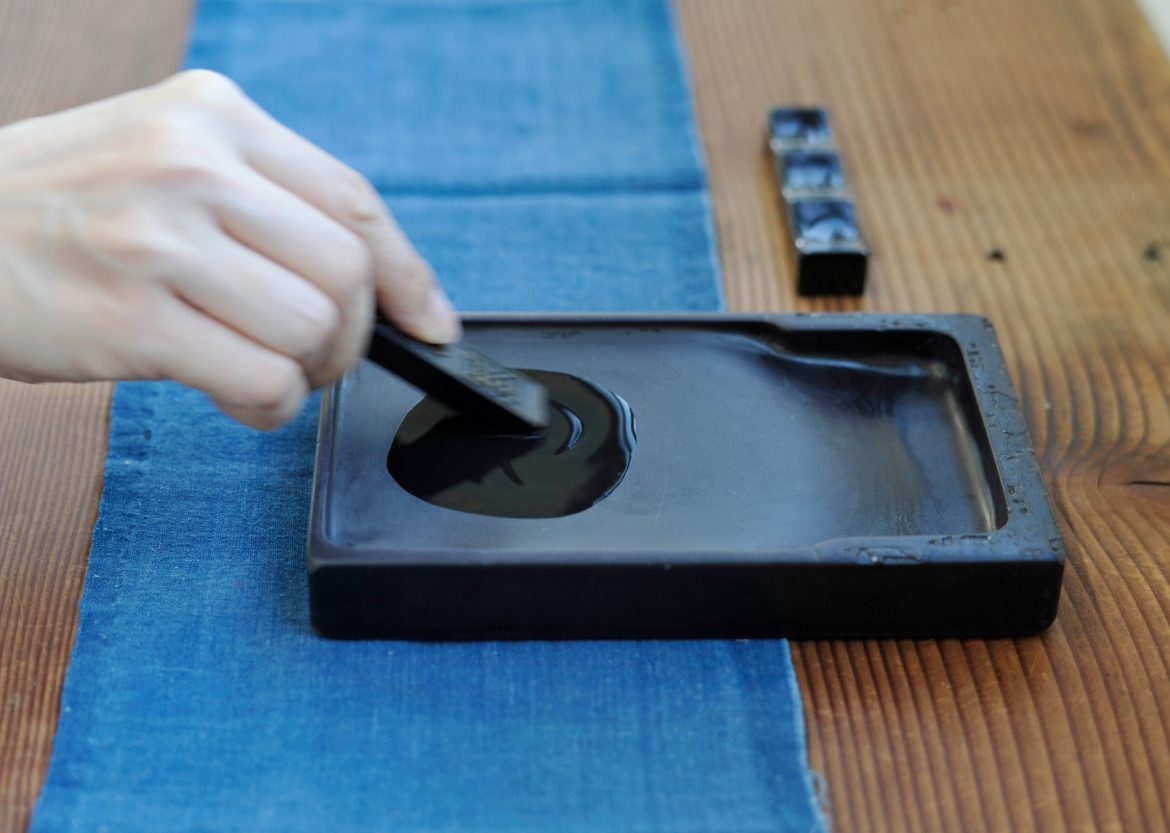
③ When the fragrance rises softly—that’s the sign it’s ready.
“Grind until sticky” still leaves the question: when do you stop? The ink tells you—through its fragrance.
As you grind, there’s a moment when the scent of the aromatic ingredients lifts gently. That’s the ink’s way of saying, “I’m ready.”
Listening to your tools and sensing completion with your five senses—that’s one of the joys of grinding ink.
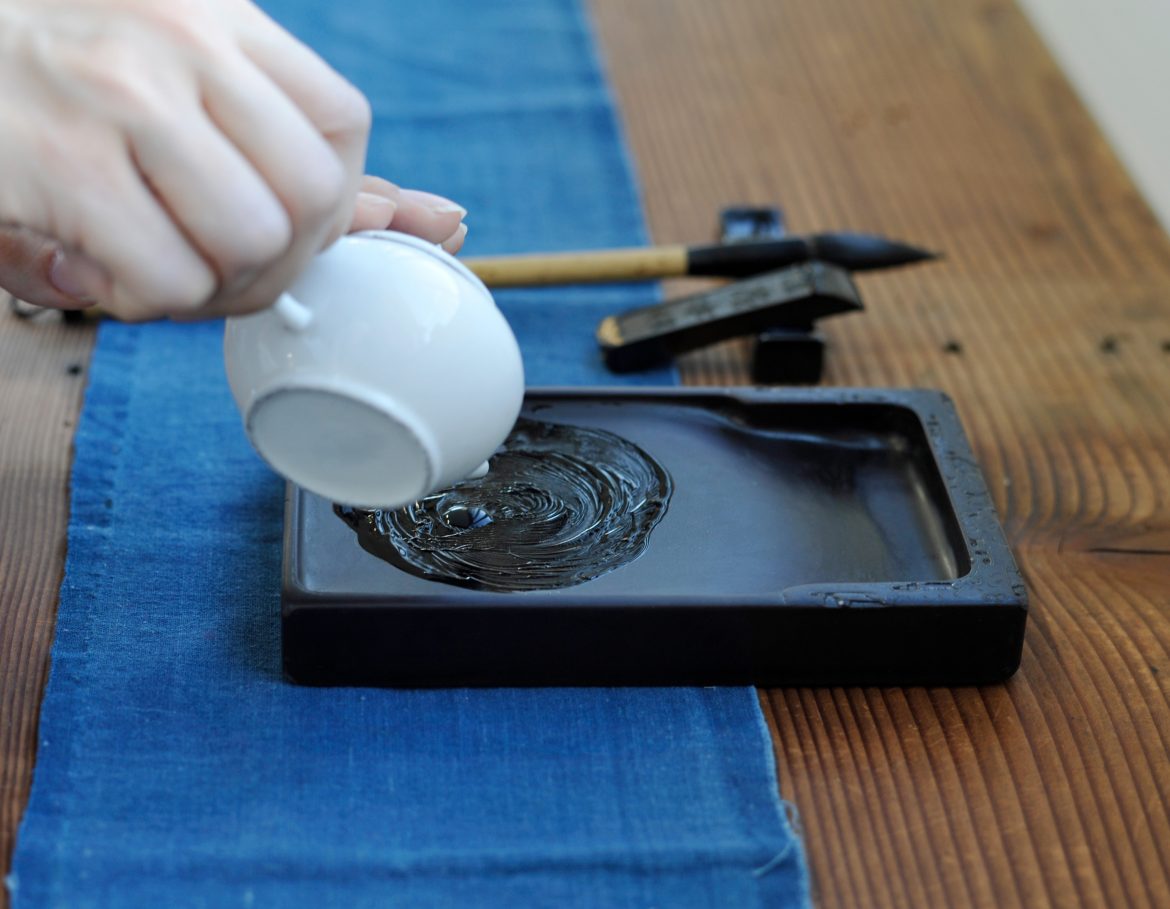
④ Reverse the idea: make a “concentrate” first, then dilute.
Once you catch the fragrance sign, you’ll have an extremely dense base ink on the hill—something like “super-concentrated ink.” Of course it’s too thick to write with as is.
Now, add water little by little to the sea and blend in the concentrate, adjusting to the tone that suits your piece.
The essence here is a shift in thinking.
“You don’t gradually thicken from the start. First you make an ultra-dense base, then dilute with water to your liking.”
In other words, the correct approach is not “slowly thicker from thin,” but “create the densest base first, then dilute”—just like mixing paint with water.
When adding water, be careful. If you pour in too much at once, your hard-earned dense ink will become too thin. Add gradually and find the best concentration.
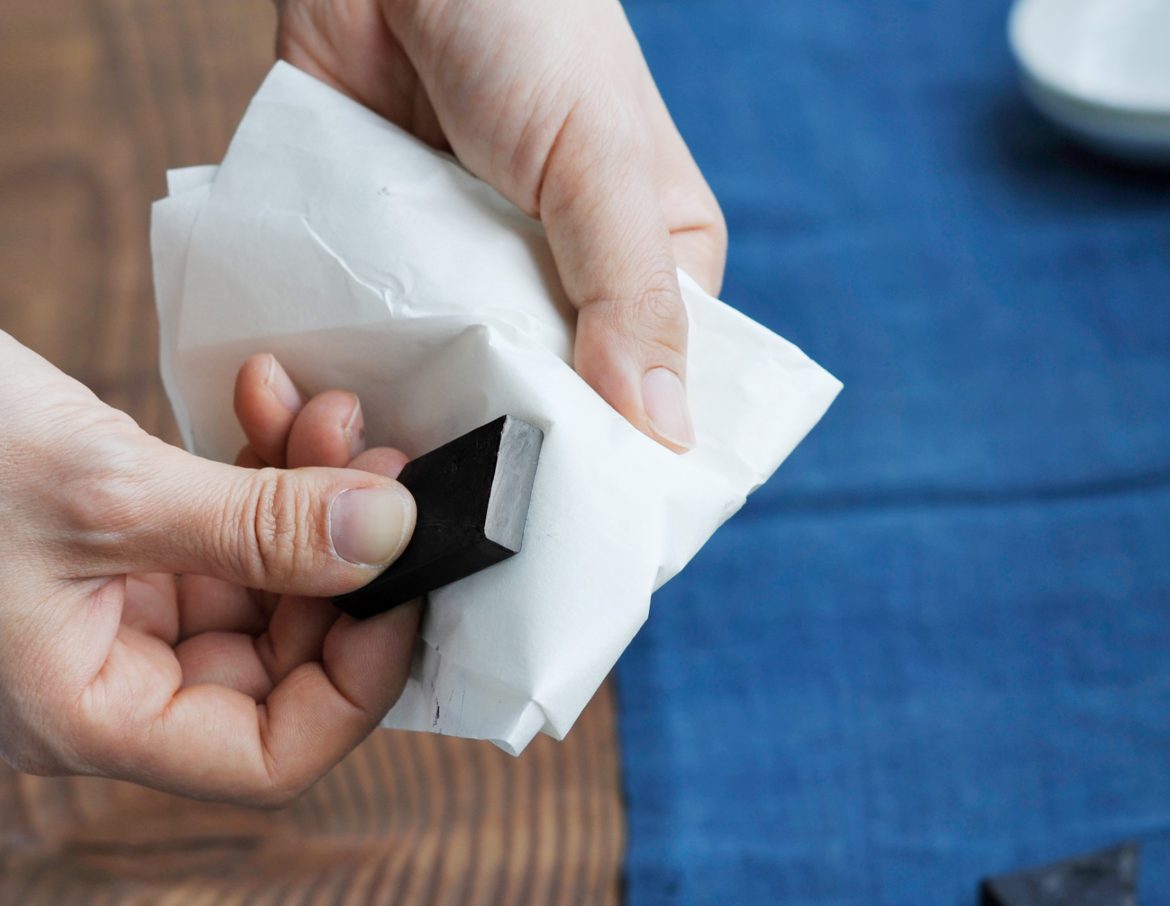
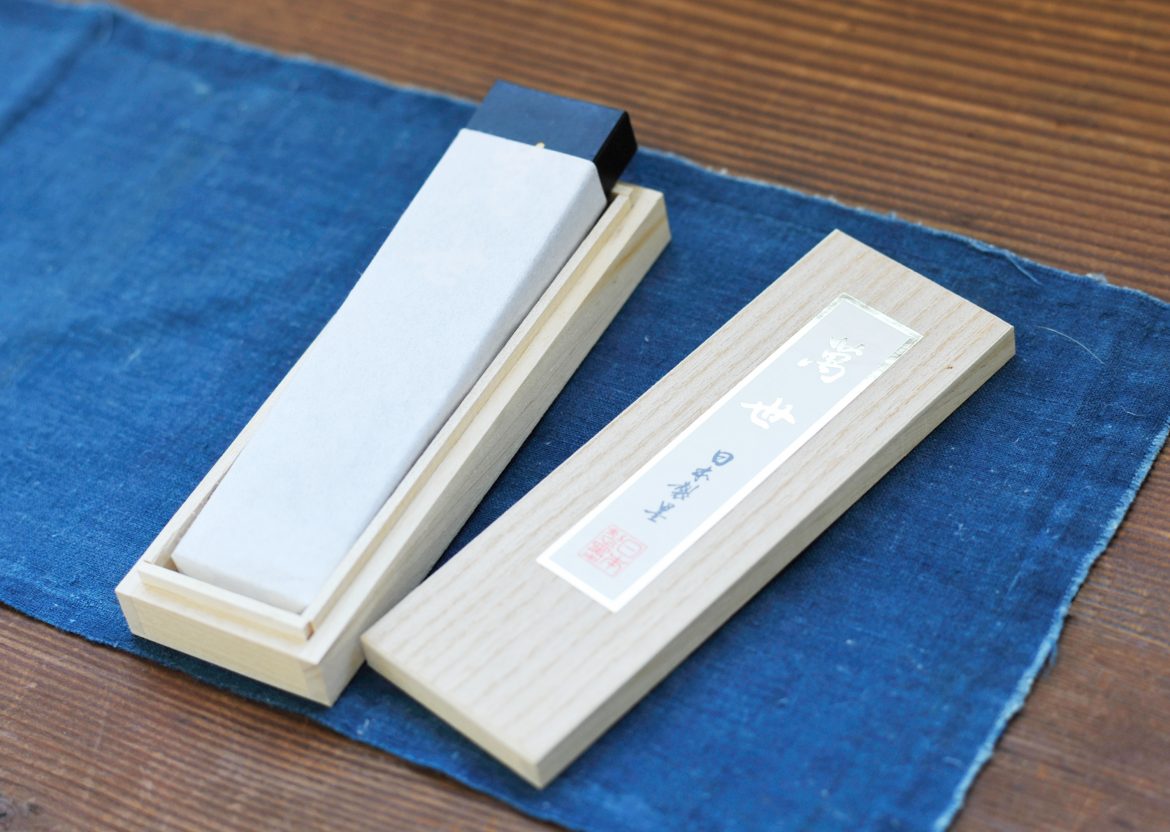
⑤ After grinding, carefully wipe moisture from the ground face of the inkstick with cloth or paper, tend to it properly, and store it in a paulownia box.
Rediscover the Real Joy of Grinding Ink
The method we introduced may be the opposite of what you’ve heard—but try it once and you’ll be amazed at the efficiency and quality.
Follow these steps and you won’t need to spend long grinding. From light to dense tones, you can quickly craft the ink color that matches your expression.
Grinding ink isn’t just prep—it’s a creative process of making the ideal ink for your work.
If you once found grinding a hassle, why not give it another try? With this method, the time spent grinding becomes an enjoyable part of creation—enjoy the dialogue with your ink.
How to Move the Inkstick
There are two main motions for grinding ink.
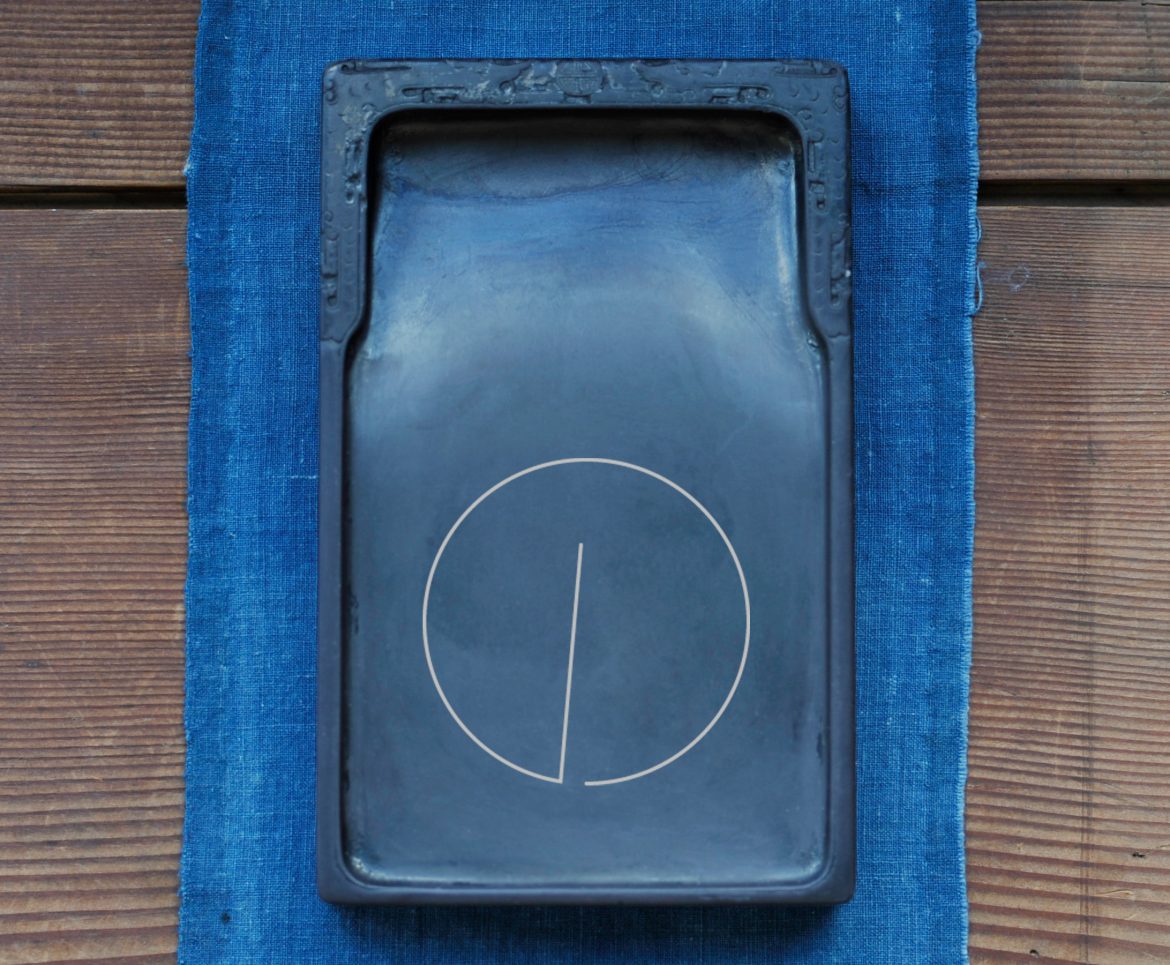
A: Circular motion—like drawing the character “の”
This circular motion is said to help you relax your grip, though ink residue tends to accumulate on the inkstone.
B: Straight motion—like drawing an “N”
This linear motion makes it easier to apply force and is said to prevent residue from building up on the inkstone.
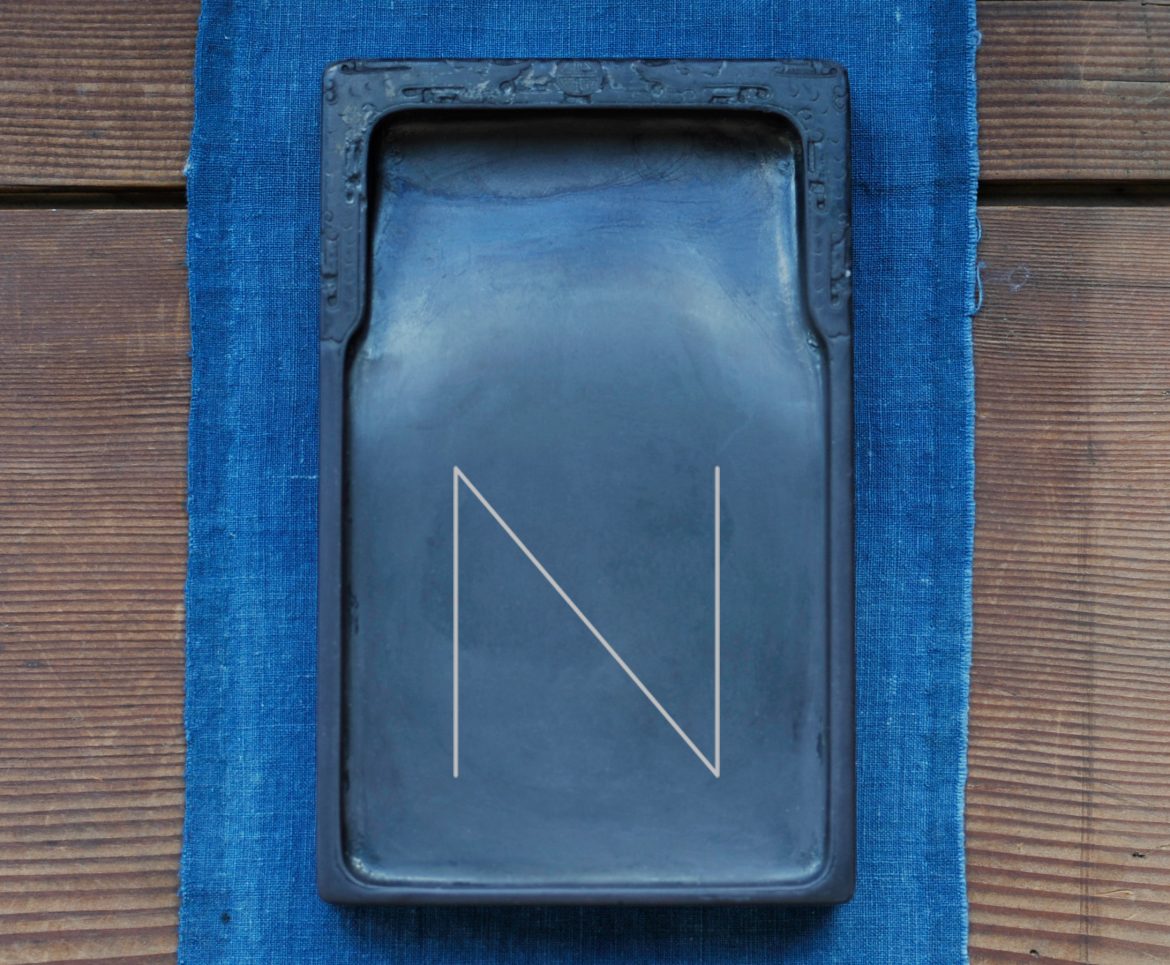
Some say the linear motion brings out the ink’s “true color,” but there’s no single right answer.
Choose the motion that feels natural to you.
How to Hold the Inkstick
You might wonder what angle is best when pressing the inkstick to the inkstone.
There are two basic ways to hold it: vertical to the stone, or angled.
If you’re short on time and want to grind faster, increasing the contact area between inkstick and stone is key. A wider ground face means faster grinding.
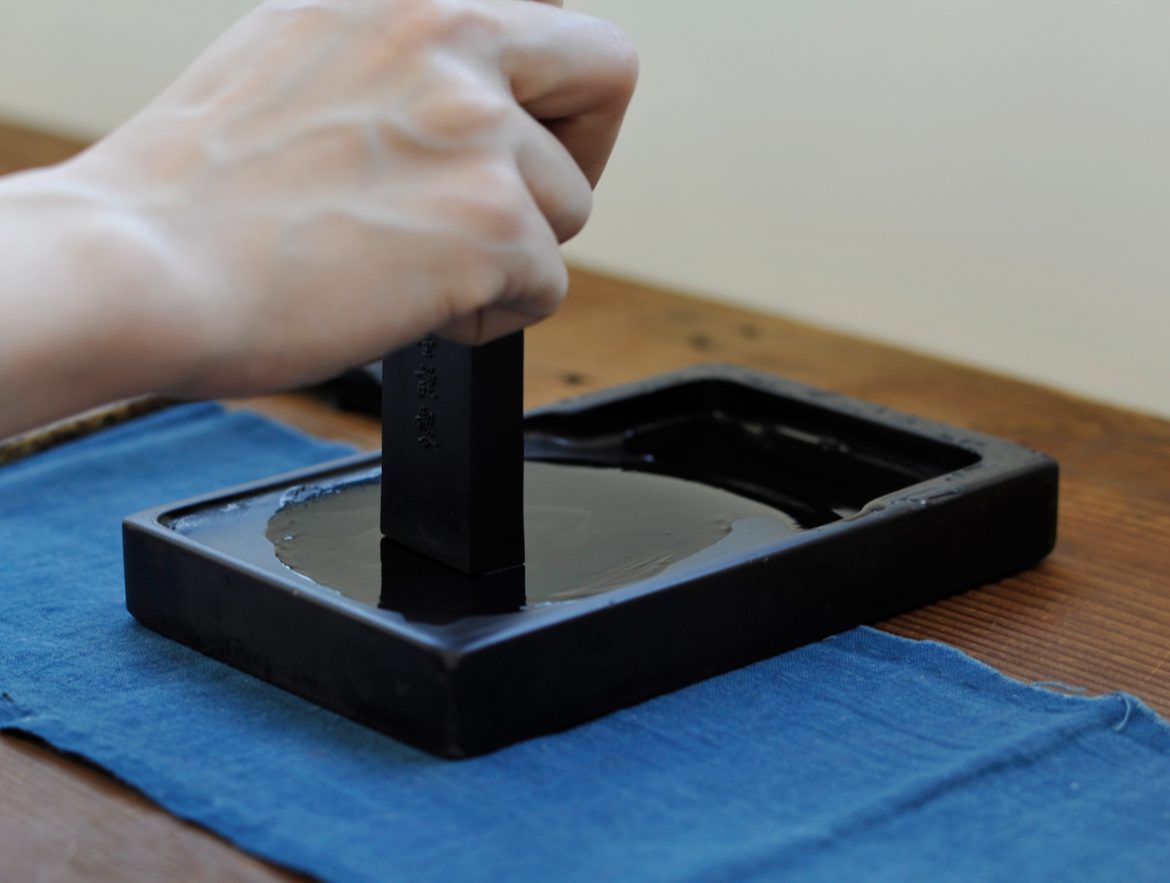
A: Holding the inkstick upright
Stand the stick perpendicular to the stone and keep the ground face flat.
The size of the face stays the same, but at the start it has a wider contact area than method B.
<Flatten the ground face>
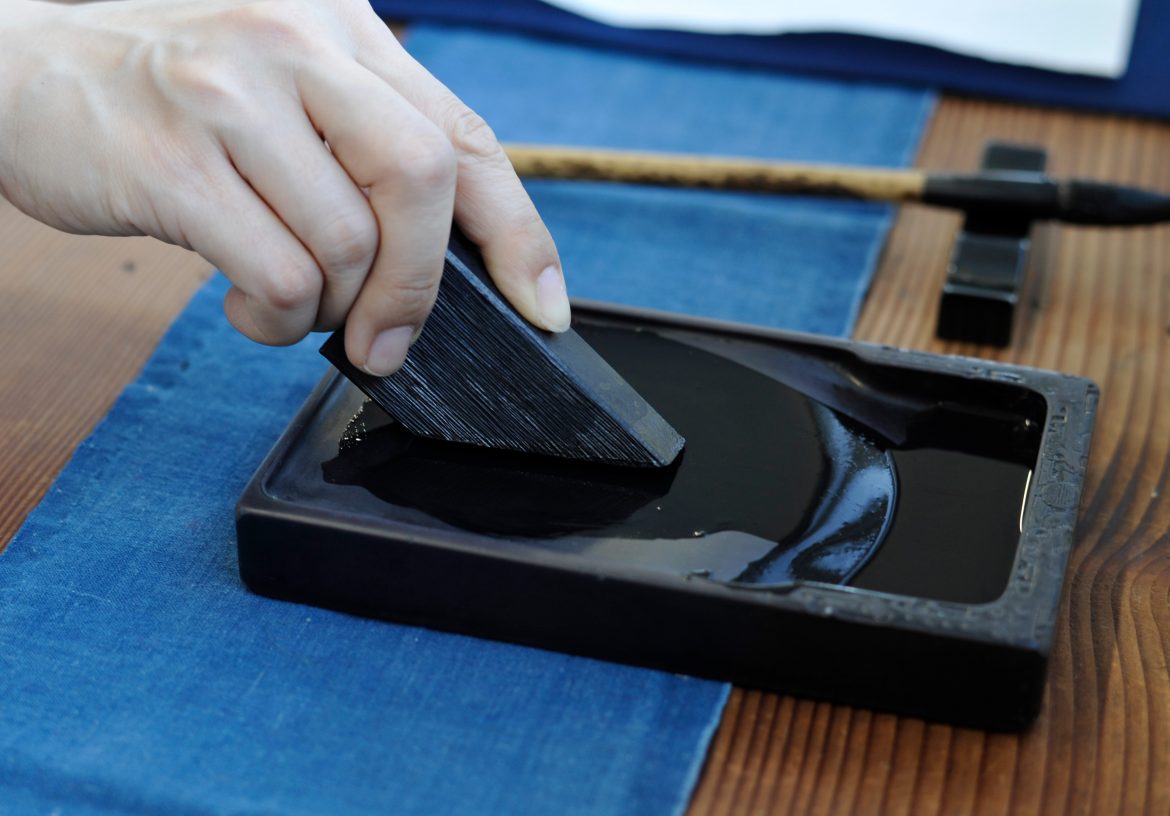
B: Holding the inkstick at an angle
Place the stick on the stone at an angle. By alternating front and back you can form a V-shaped face, or grind only one side to create a sharp edge. The initial contact area is small, but it widens as you grind and becomes largest when sharply angled.
<Make the ground face V-shaped>
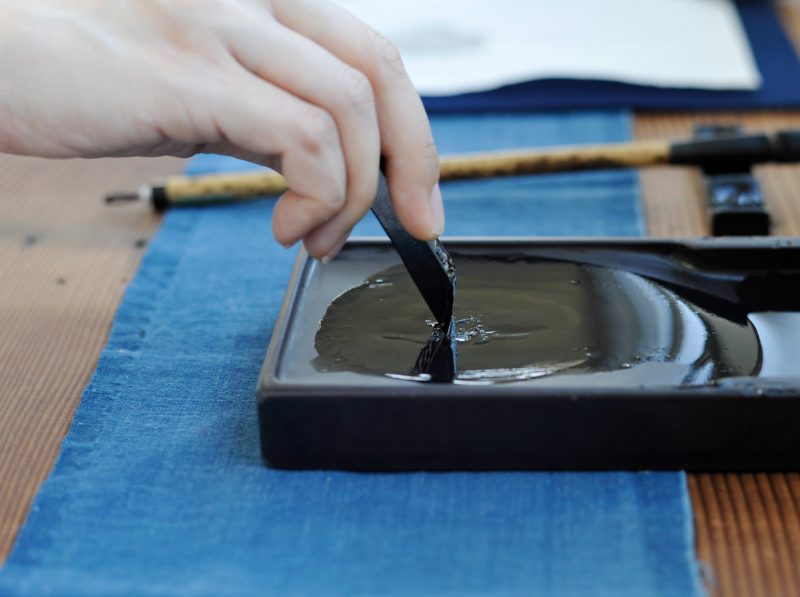
<Make the ground face sharp-edged>
We introduced three ways to hold the inkstick; any of them is fine.
While holding style rarely changes ink color,
choose the one that lets you grind comfortably and effectively.
How to Grind Faster
For busy people today, faster grinding is ideal.
So how can you grind faster? The answer is simple.
Increase the contact area between the inkstick and inkstone. For speed, we recommend holding the stick at an angle (method B) and grinding one side into a sharp edge. It may take time to reach a steep angle, but as the contact widens you’ll grind faster.
On a large inkstone you could grind two or three sticks together to widen contact and speed things up, though it’s not very practical.
If you’re really short on time, consider using an electric ink grinder.
It’s also useful when you need a large quantity of ink for a big piece.