
How to Repair (Join) Ink Sticks
Joining Ink Sticks with Ink
How to Join
① Prepare the small ink sticks.
Soak the surfaces to be joined in lukewarm water for 3–5 minutes in advance. 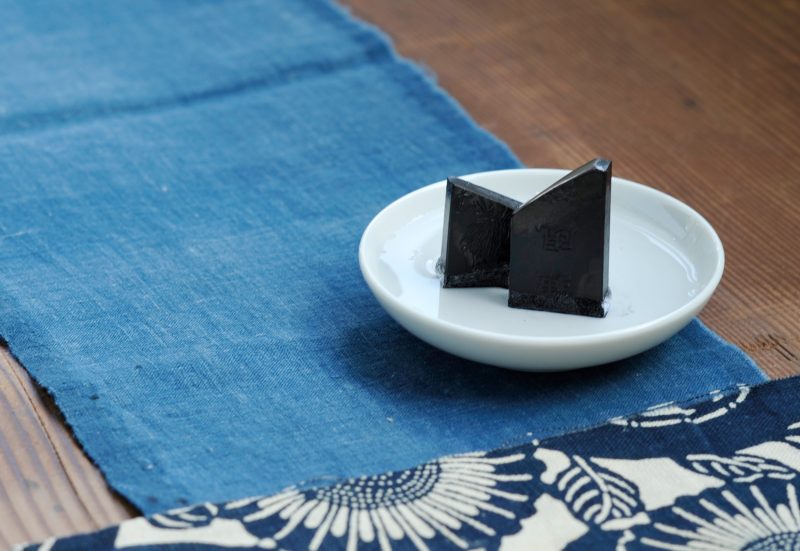
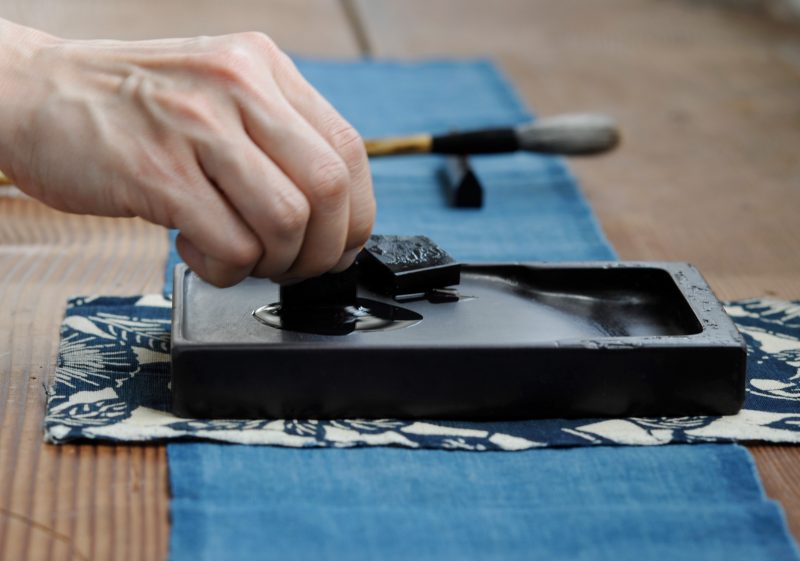
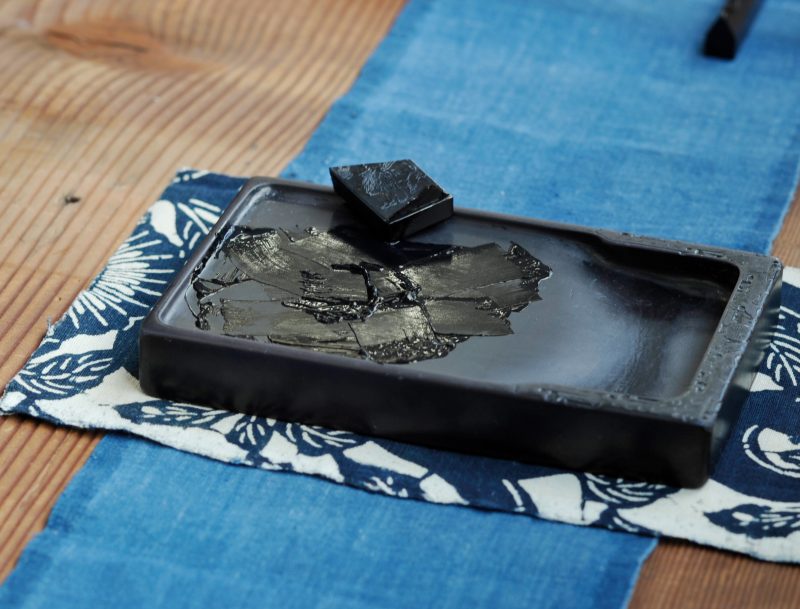
〈Start grinding〉
〈Sticky state〉
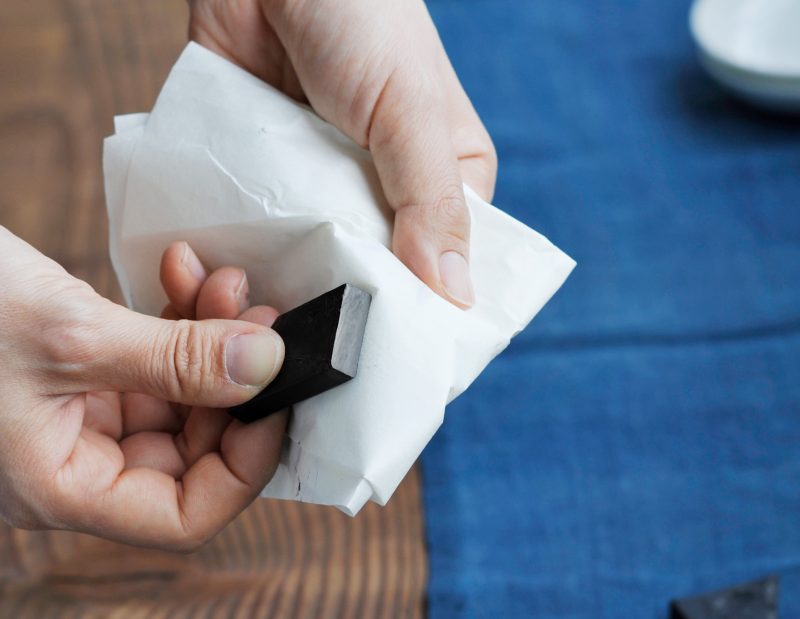
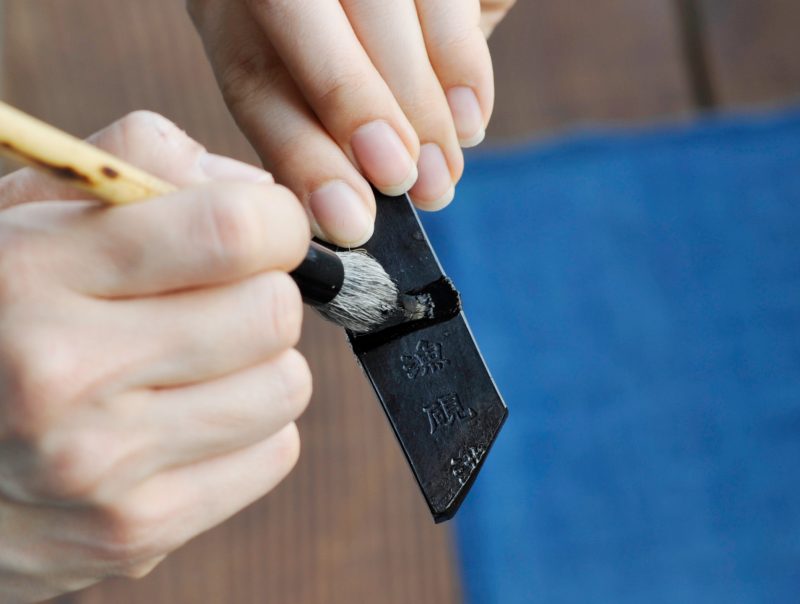
④ Apply the sticky ink to the flat surfaces prepared in step ②.
You don't need too much, but spread it evenly. 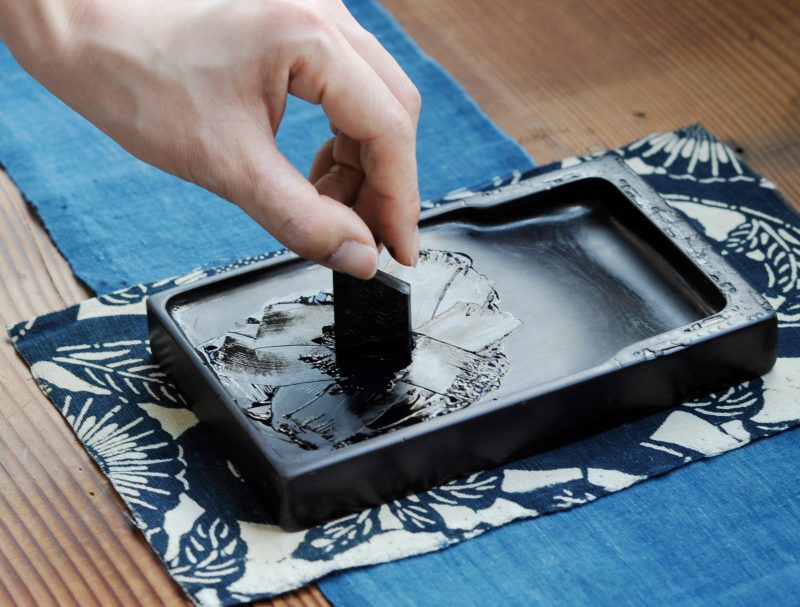
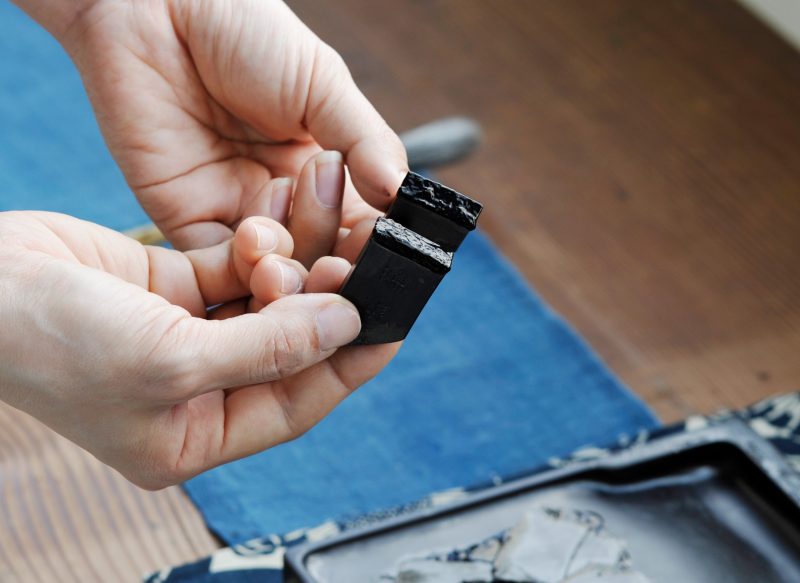
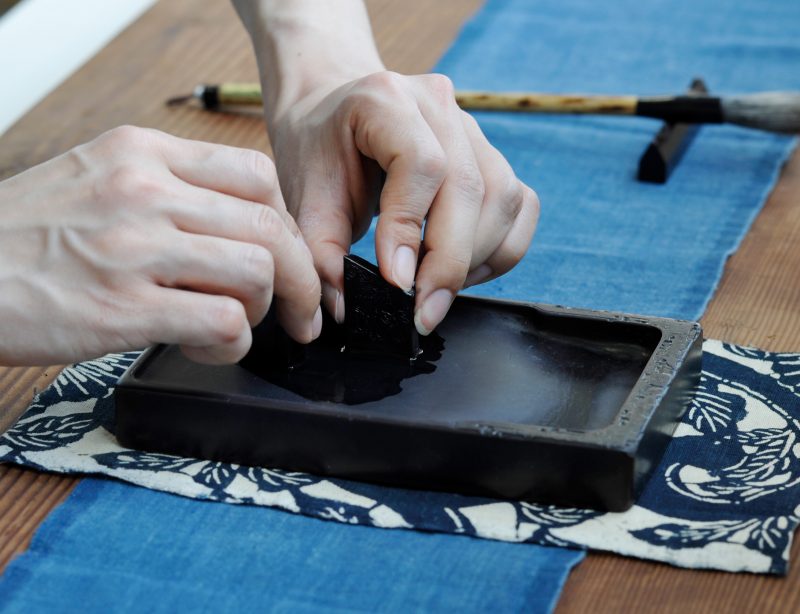
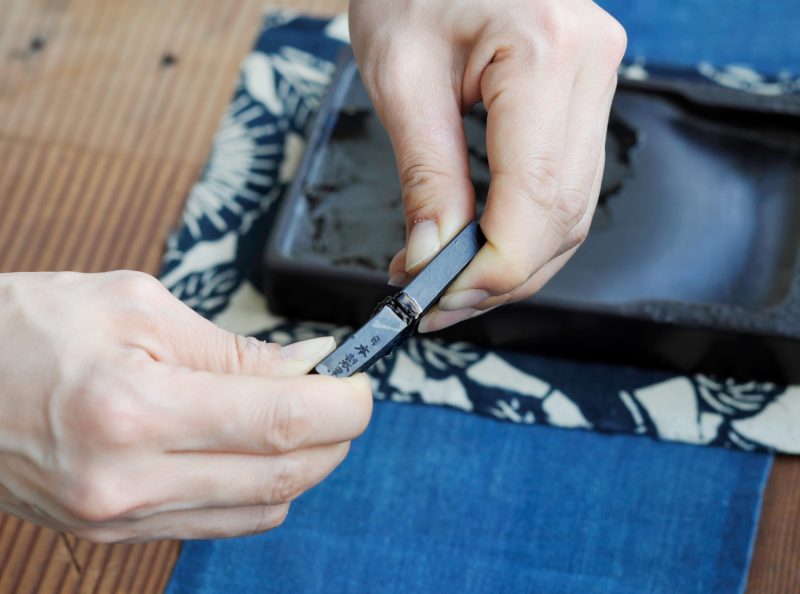
⑤ Align the surfaces and press firmly to join.
Be careful not to misalign and press both ink sticks with both hands for about a minute.
It's okay if some ink squeezes out. After pressing, apply some of the sticky ink around the joined area with a brush or your fingers. 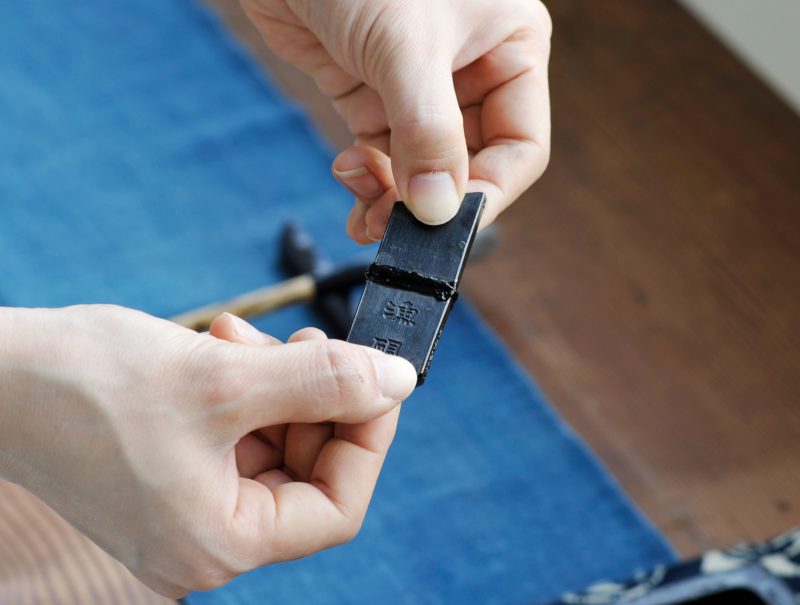
⑥ Let the joined ink dry naturally.
Even small pieces take a few days to dry completely, so allow about three days. 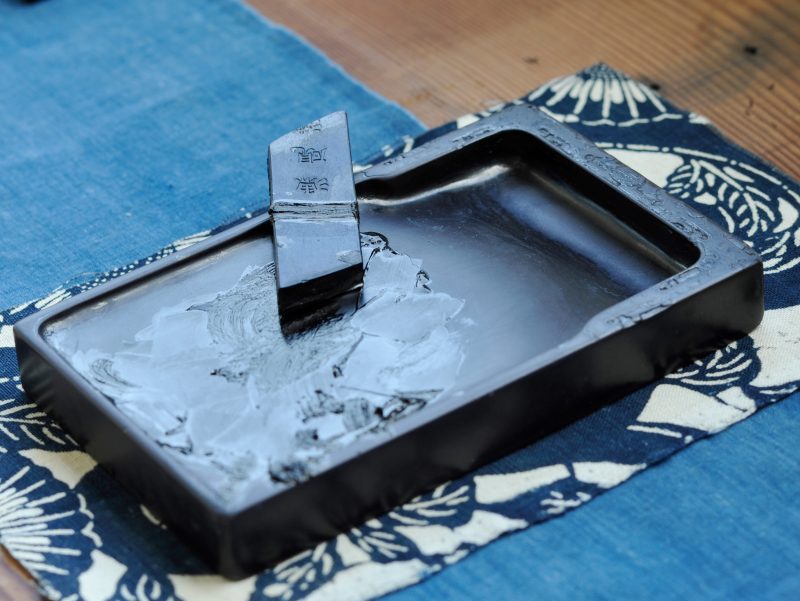
The ink joining process is now complete. You can continue joining small pieces and use your ink sticks until the very end.
Using Ink-Specific Adhesive
If you are busy, using a special ink adhesive is also an option.
There are convenient ink adhesives available for purchase, which you can use as needed.