
How to Use an Ink Ruler (Inku)
The position where you place your seal on a work is something many people value greatly when creating their pieces.
However, pressing the seal straight on a large work can be quite difficult.
The Inku is a very useful tool that allows you to stamp the seal exactly where you want it. In this article, we will introduce how to use the Inku.
The Role of the Inku
By fixing the Inku in the position where you want to place the seal and aligning the seal closely along it, you can stamp the seal exactly where you intend to.
It acts as a guide—essentially a ruler designed specifically for seals.
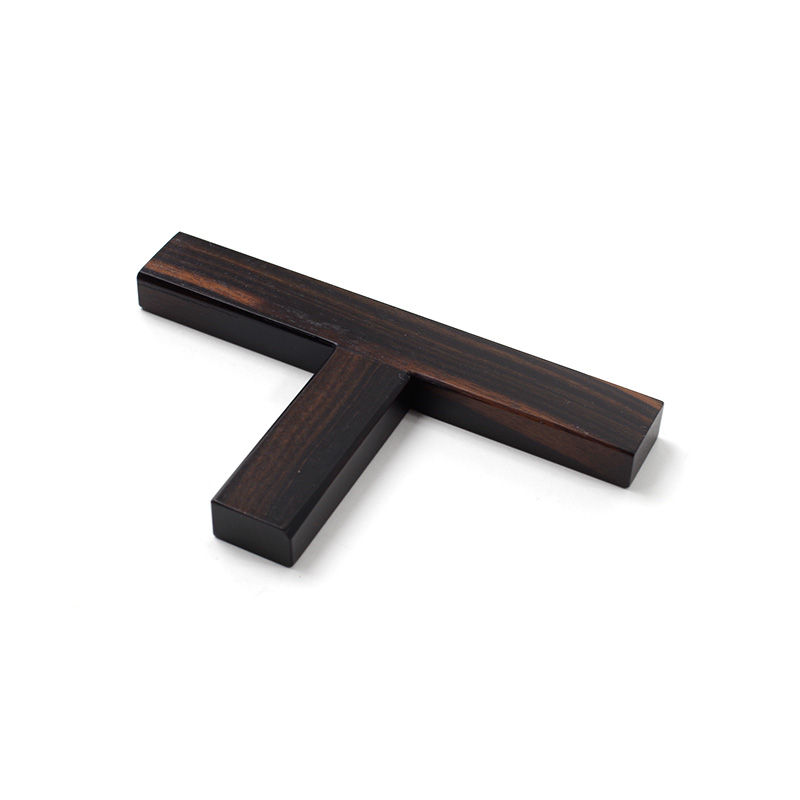
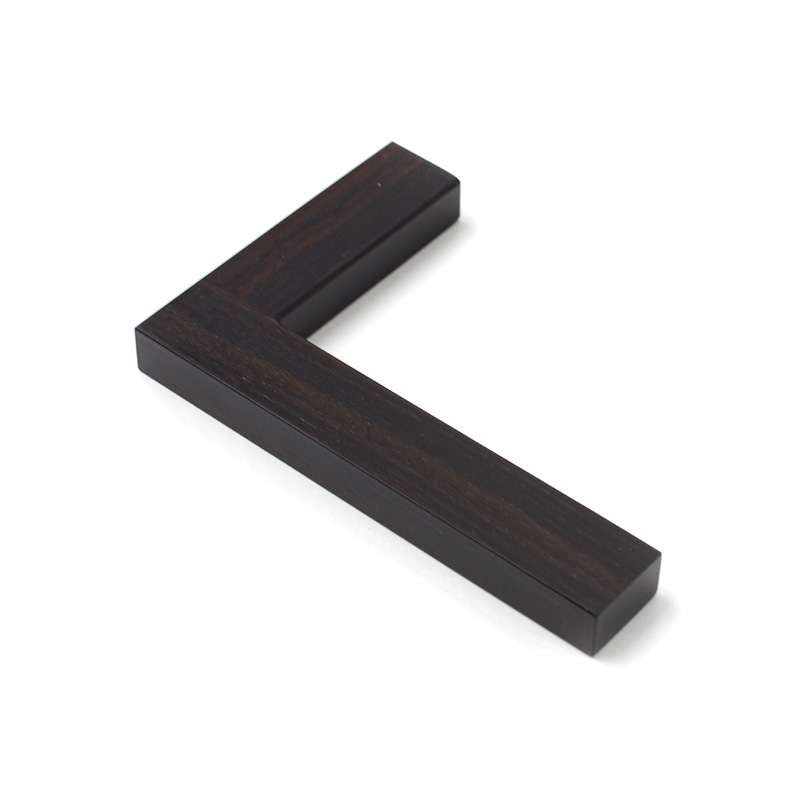
The Inku mainly comes in two types: a T-shaped type and an L-shaped type. By fixing two sides, the position of the seal can be accurately determined.
Sometimes, when the first impression is too light, you may want to stamp again.
With an Inku, you can do so at exactly the same position and angle.
How to Stamp Using the Inku
Step 1: Create a Seal Impression and Decide the Position
After finishing the calligraphy and signing your name, it’s time to apply the seal.
First, create an “impression” of the seal.
This “impression” refers to pressing your seal onto a separate sheet of the same type of paper as the artwork, then cutting out the shape of that impression.
Place this impression over your work to decide the exact position where you’ll place the seal.
Step 2: Place the Inku According to the Seal Impression
While taking care not to move the paper with the seal impression, place the Inku so that it fits snugly along the edges of the impression.
Once the Inku is in place, remove the impression paper without moving the Inku.
Step 3: Fix the Inku and Press the Seal
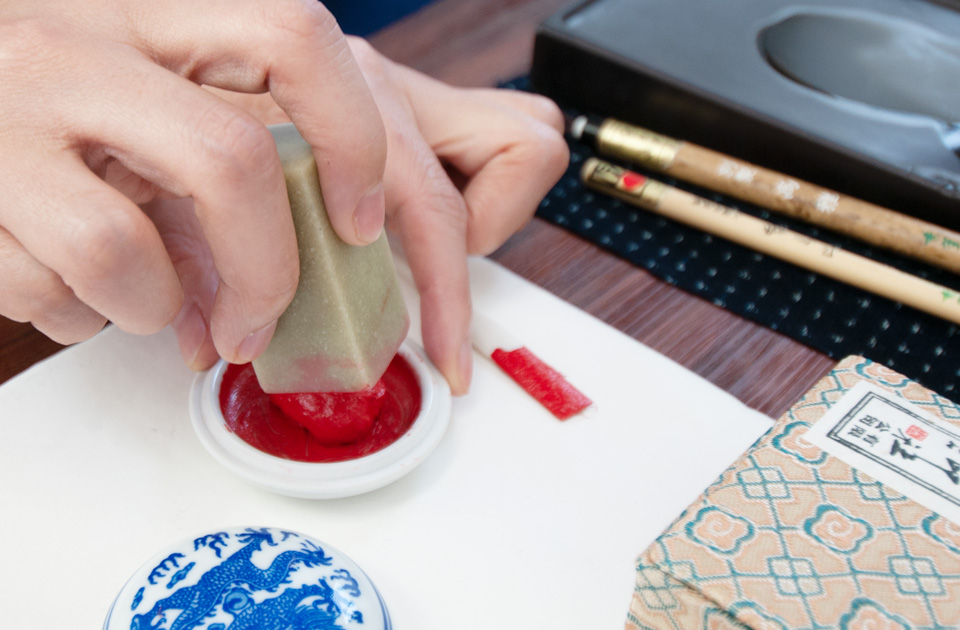
Apply seal paste (indei) to your seal.
■ How to use seal paste >>
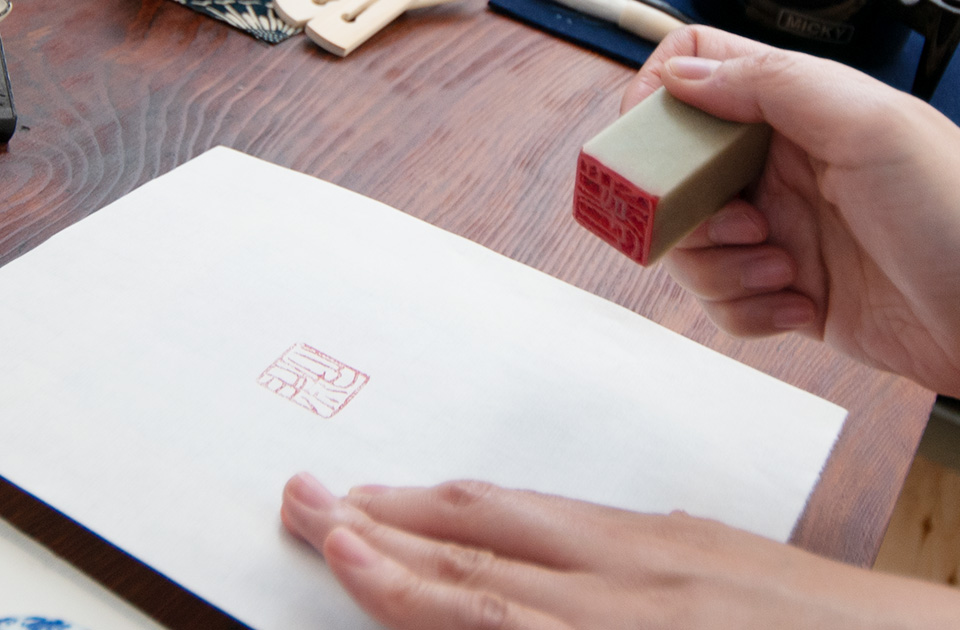
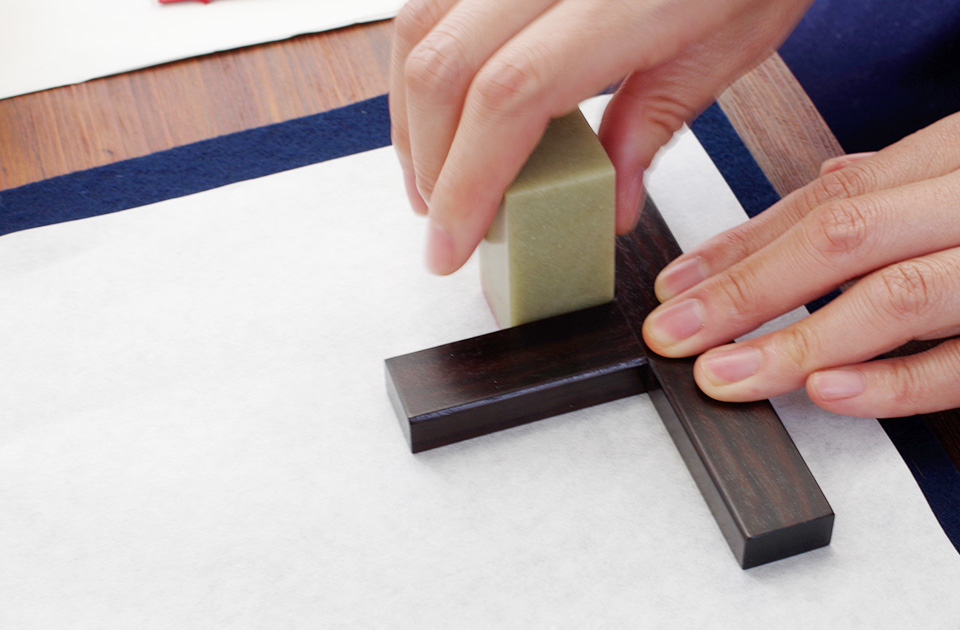
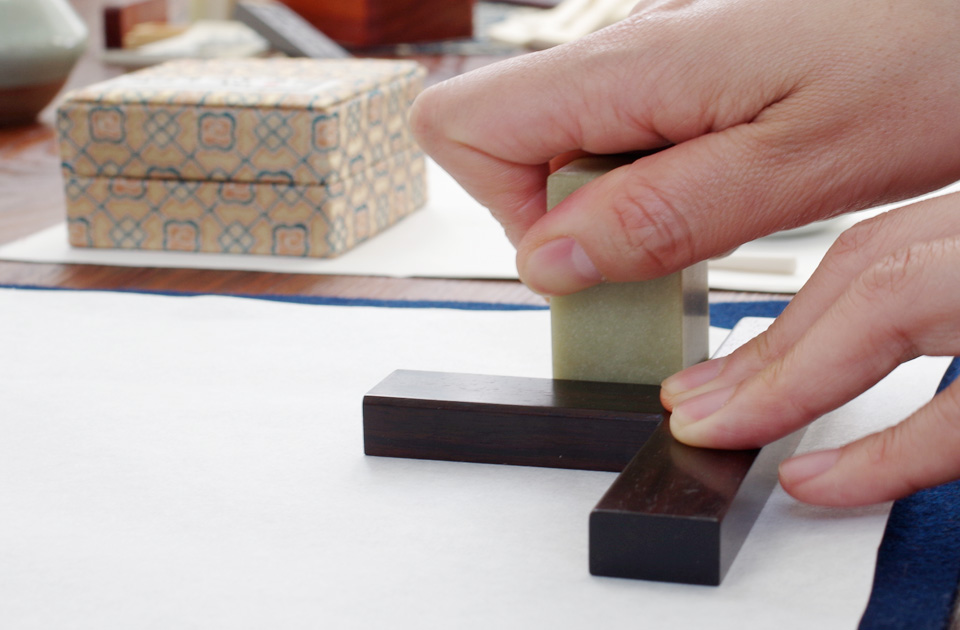
While holding the Inku steady with your left hand so it doesn’t move, align one corner of the seal with the 90-degree corner of the Inku and press the seal.
After stamping, be careful not to move the Inku.
Step 4: Without Moving the Inku, Press Again if the Seal Is Too Light
Without moving the Inku, check how well the seal was applied. If it’s too light, reapply seal paste and stamp again in the same position.
Thanks to the Inku, you can stamp again perfectly aligned with the first impression.
Front and Back of the Inku
Some Inku tools have a chamfered (beveled) side and a flat side.
Use it with the chamfered side facing the artwork.
This prevents the seal paste from getting on the Inku and smudging the work.
Shapes and Materials of the Inku
There are mainly two shapes—the T-shaped type and the L-shaped type—and some sliding types as well.
Choose whichever shape you find easiest to use.
Materials range from woods like ebony, to metals such as brass, to transparent acrylics.
Heavier ones tend to stay more stable while pressing.
Summary
We’ve introduced how to use the Inku.
The Inku is a very useful tool that helps you place your seal exactly where you want it.
If your first impression turns out too light, you can use the Inku to press again in the exact same spot.
We also have separate articles about how to use seal paste and other related tips, so please take a look at those as well.