

How to Back Calligraphy and Recommended Special Papers
We have just received special backing paper that makes it easy to back your calligraphy using only an iron and a spray bottle. Backing helps prevent wrinkles and sagging while reinforcing your artwork. Do you have pieces that turned out beautifully but are just sitting around? By backing your finished works, you can display them anytime you like. Here, we will show you how to use the backing paper, so please give it a try!
Materials Needed
- Backing paper (thicker for framing, thinner for hanging scrolls is recommended)
- Iron
- Spray bottle
- Cutter knife
- A mat or board for ironing and spraying
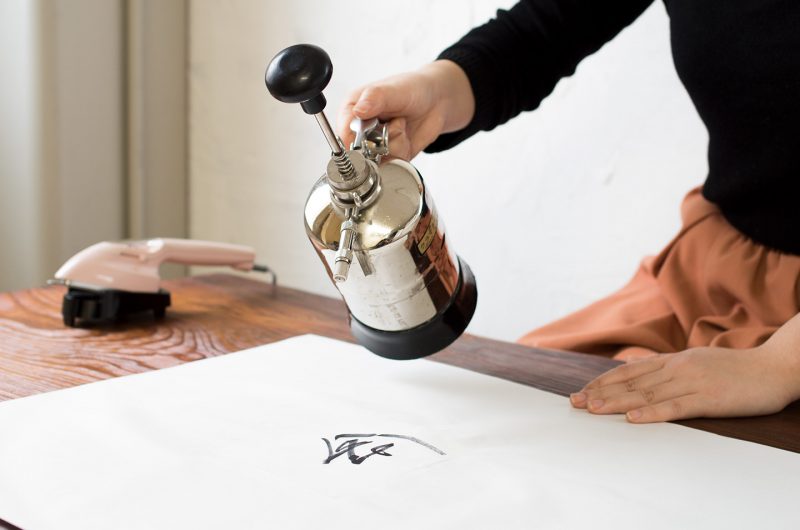
1. Flatten the artwork – Turn the piece over and lightly spray evenly with water to avoid uneven wet spots. Let it dry just enough to prevent wrinkles (about 10–15 minutes).
2. Attach the backing paper – Keep the artwork turned over and move it onto the ironing board. Prepare a backing paper the same size or slightly larger than your artwork, placing the glossy "back" side against the back of your piece.
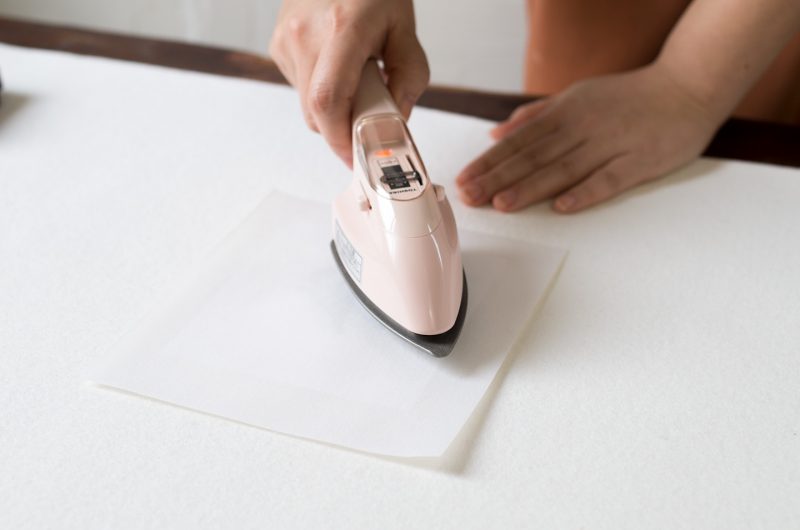
3. Iron the artwork – Use a Teflon-coated iron heated to medium-high (around 130°C / 266°F). Press evenly from the center outward to the right and left to avoid air bubbles or shifting. Iron a second time to ensure there are no uneven spots. After ironing, leave the piece for about 5 minutes until it cools.
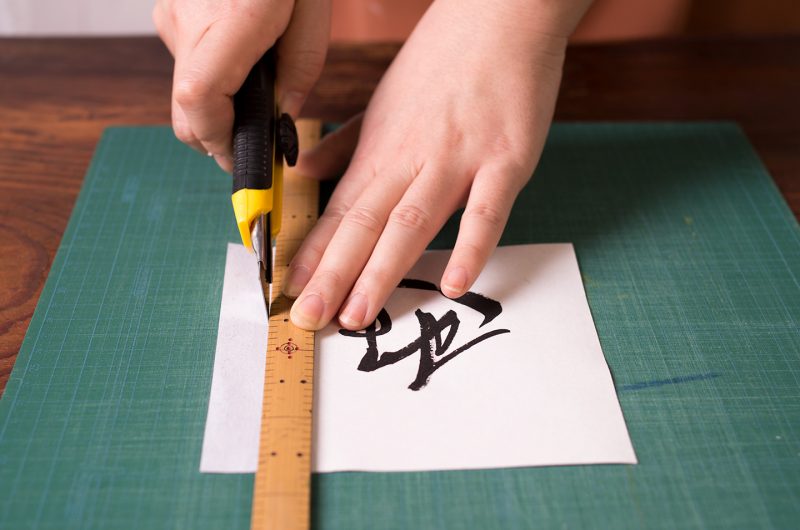
4. Finishing – Trim any excess paper with a cutter knife. For display, mount the piece in a scroll or frame and you’re done!
※If the piece is not sufficiently dry after spraying, damage or poor adhesion may occur. Over-drying can also cause wrinkles, so please be careful.
※If bending or curling occurs after adhesion, place a book or weight on top. Within about 3 hours, moisture will stabilize and the piece will finish beautifully.