

How to Remove the Glue from a New Brush
How to Set a Brush with Special Glue
Proper care and storage of brushes is an essential task. Some people harden the brush without washing out the ink after use, but by using professional “special glue,” you can restore the brush to a condition close to when it was new.
Why Professionals Use Special Glue for Brushes
The advantage of this special glue is that it does not damage the brush. If you harden a brush using resin-based ink, the hairs will deteriorate. However, with this “special glue,” the bristles are protected, and the brush lasts longer. Another benefit is long-term preservation: when storing large brushes for long periods, it helps prevent insect damage and split tips. Let’s take a look at how to use it.
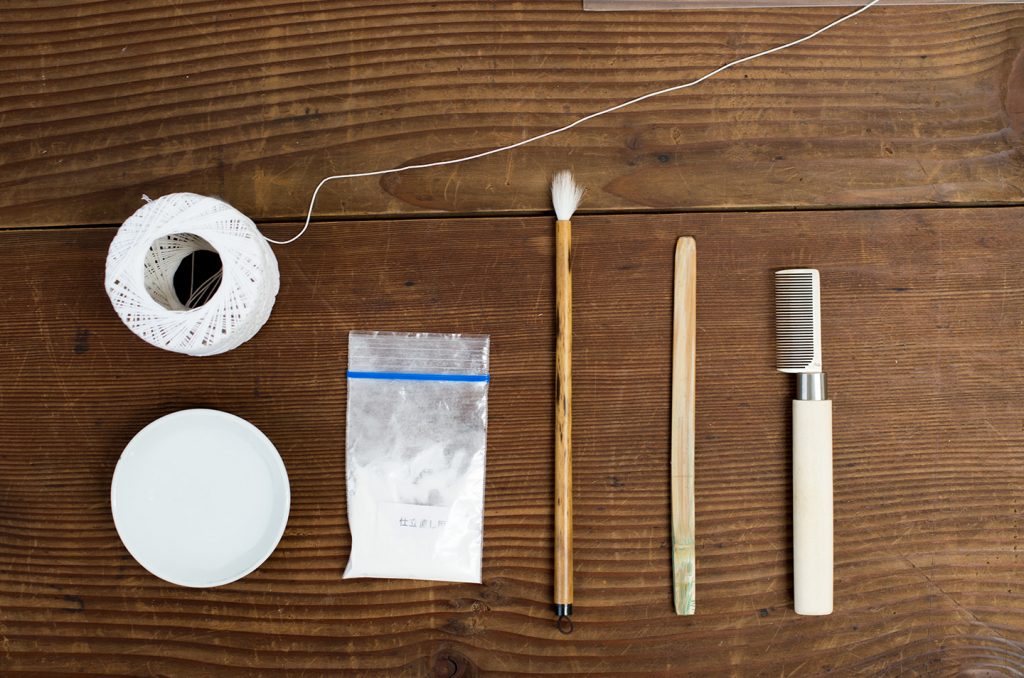 ■What You’ll Need
-
- Special brush glue
- Water
- A flat board for mixing the glue
- A spatula
- Brush comb
- Thread (fix one end of the thread to a wall or table)
*Make sure the brush you are hardening is thoroughly washed and free of ink.
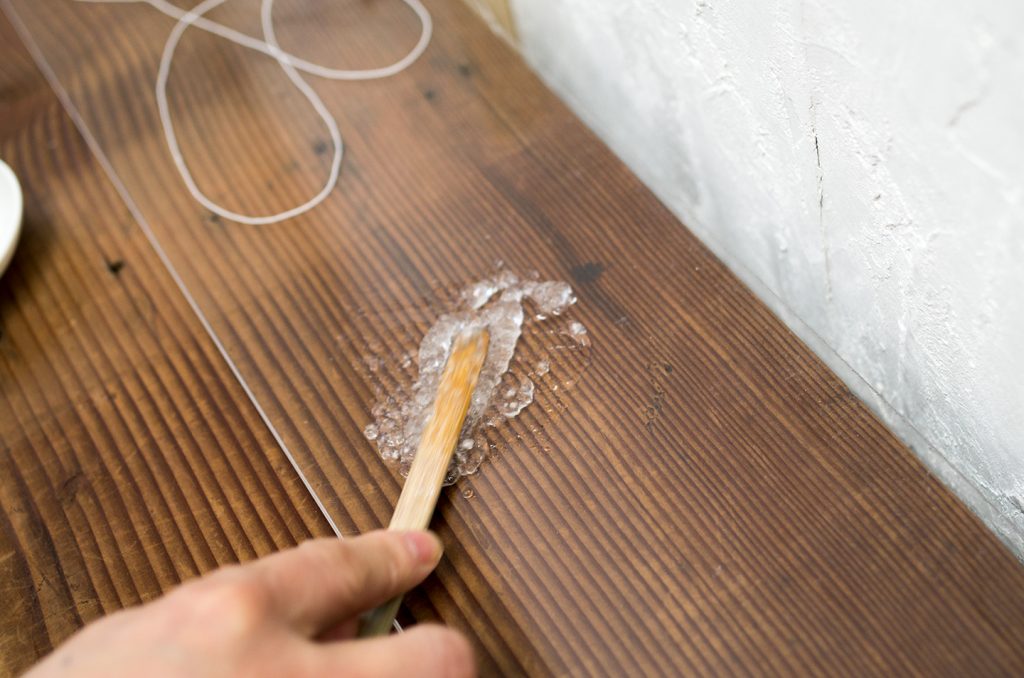
1. Place about one spoonful of glue on a flat surface such as a glass plate. This amount is enough for about 10 small brushes. Add a suitable amount of water and mix until it becomes a paste. Since you need to press and knead the glue while mixing, be sure to do this on a flat surface.
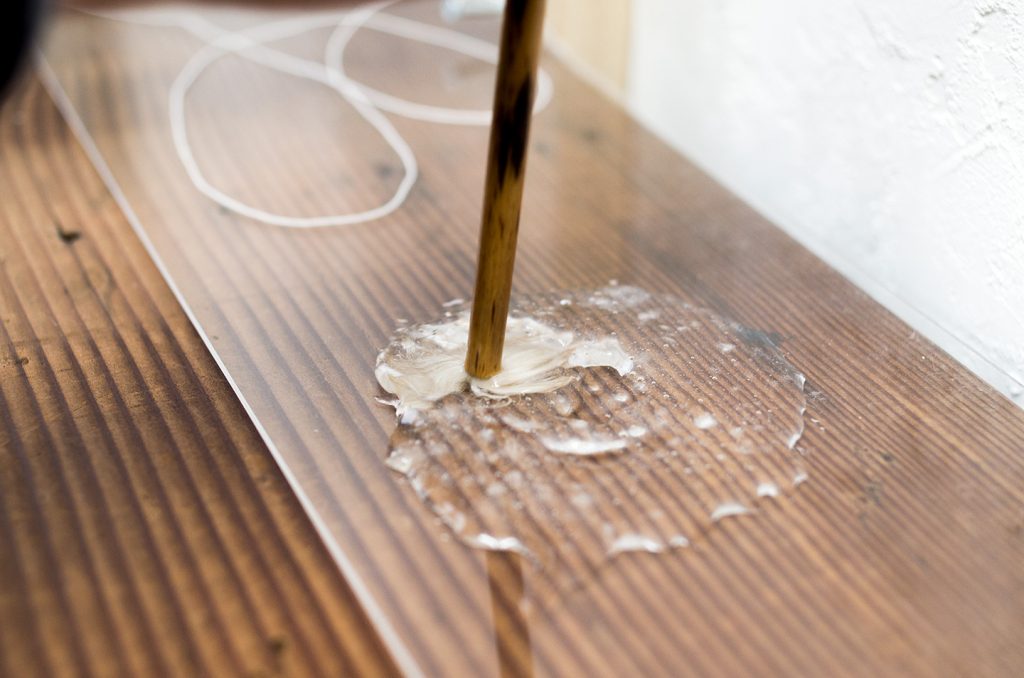
2. Rotate the brush to open the hairs, and work the glue into the brush so it penetrates throughout. It is important that the glue reaches the center of the bristles.
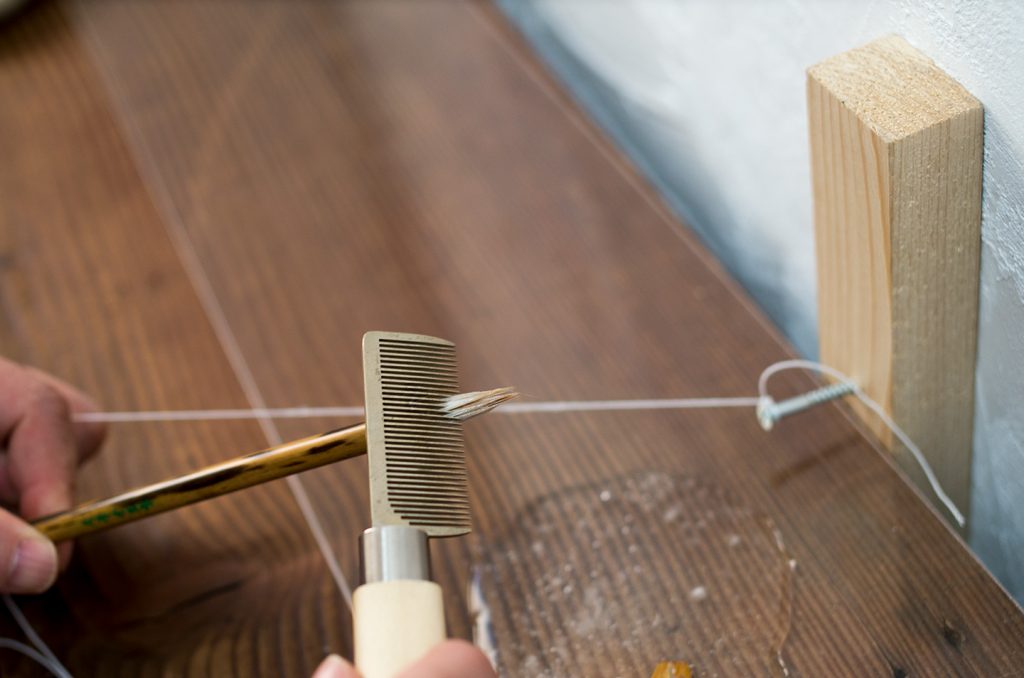
3. Remove excess glue with a spatula, comb the bristles, and smooth down any loose hairs.
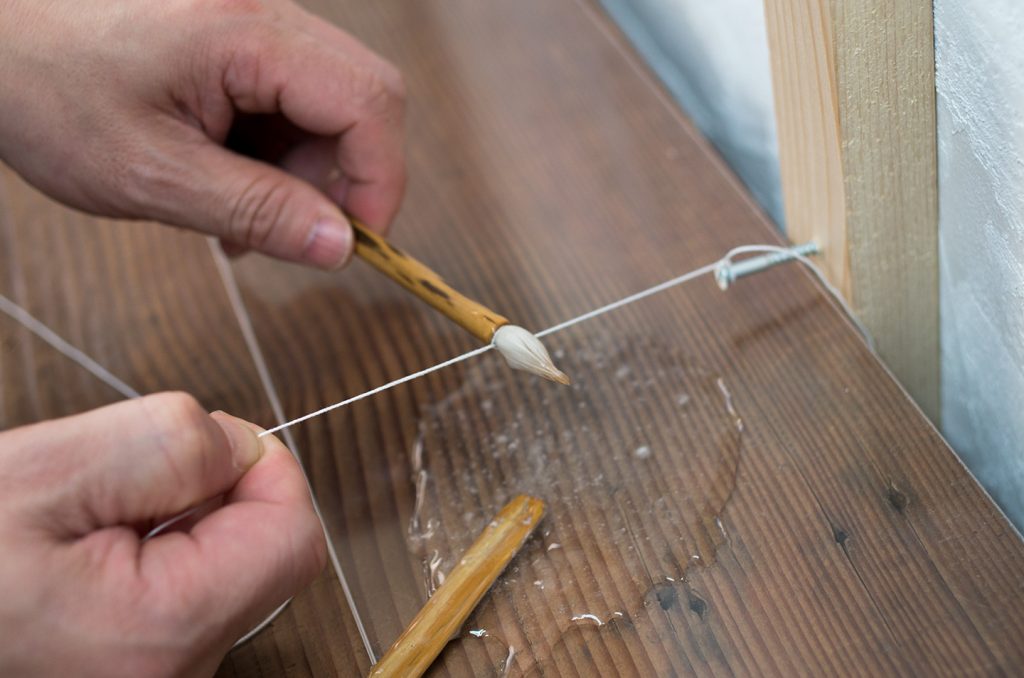
4. Use thread to squeeze out any remaining excess glue. Wrap the thread once around the base of the bristle tuft, from bottom to top. Hold the end of the thread lightly with your right hand. If you pull too hard, the brush will not rotate smoothly. While keeping the thread straight toward yourself, rotate the brush counterclockwise with your thumb and index finger to draw out the glue. (It works best if the brush handle stays parallel with the thread.)
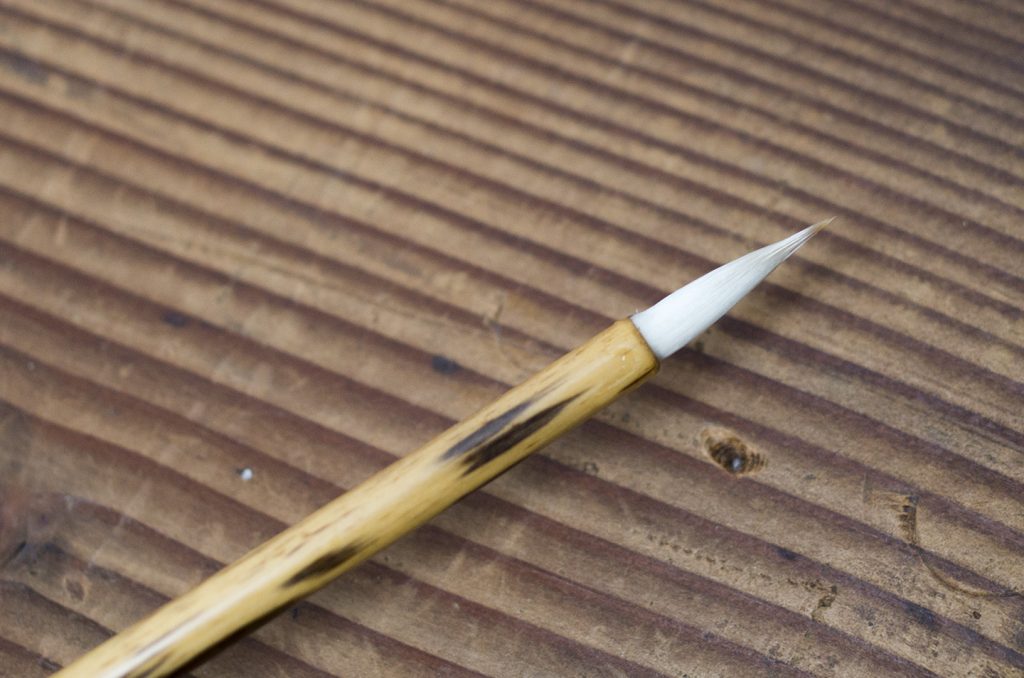
5. Rotate the brush clockwise and use your fingertips to correct any twists or bends. Avoid pinching too hard, or the bristles won’t form a fine point. Dry the brush in the shade, away from direct sunlight. Large brushes take about 4 days to dry, while small brushes take around 3 days.
The thread-squeezing step can be a little tricky, but once you get the hang of it, you’ll be able to care for your brushes at home with ease. Give it a try!