Shodo Daisuki Episode 20
Shodo Daisuki Episode 20
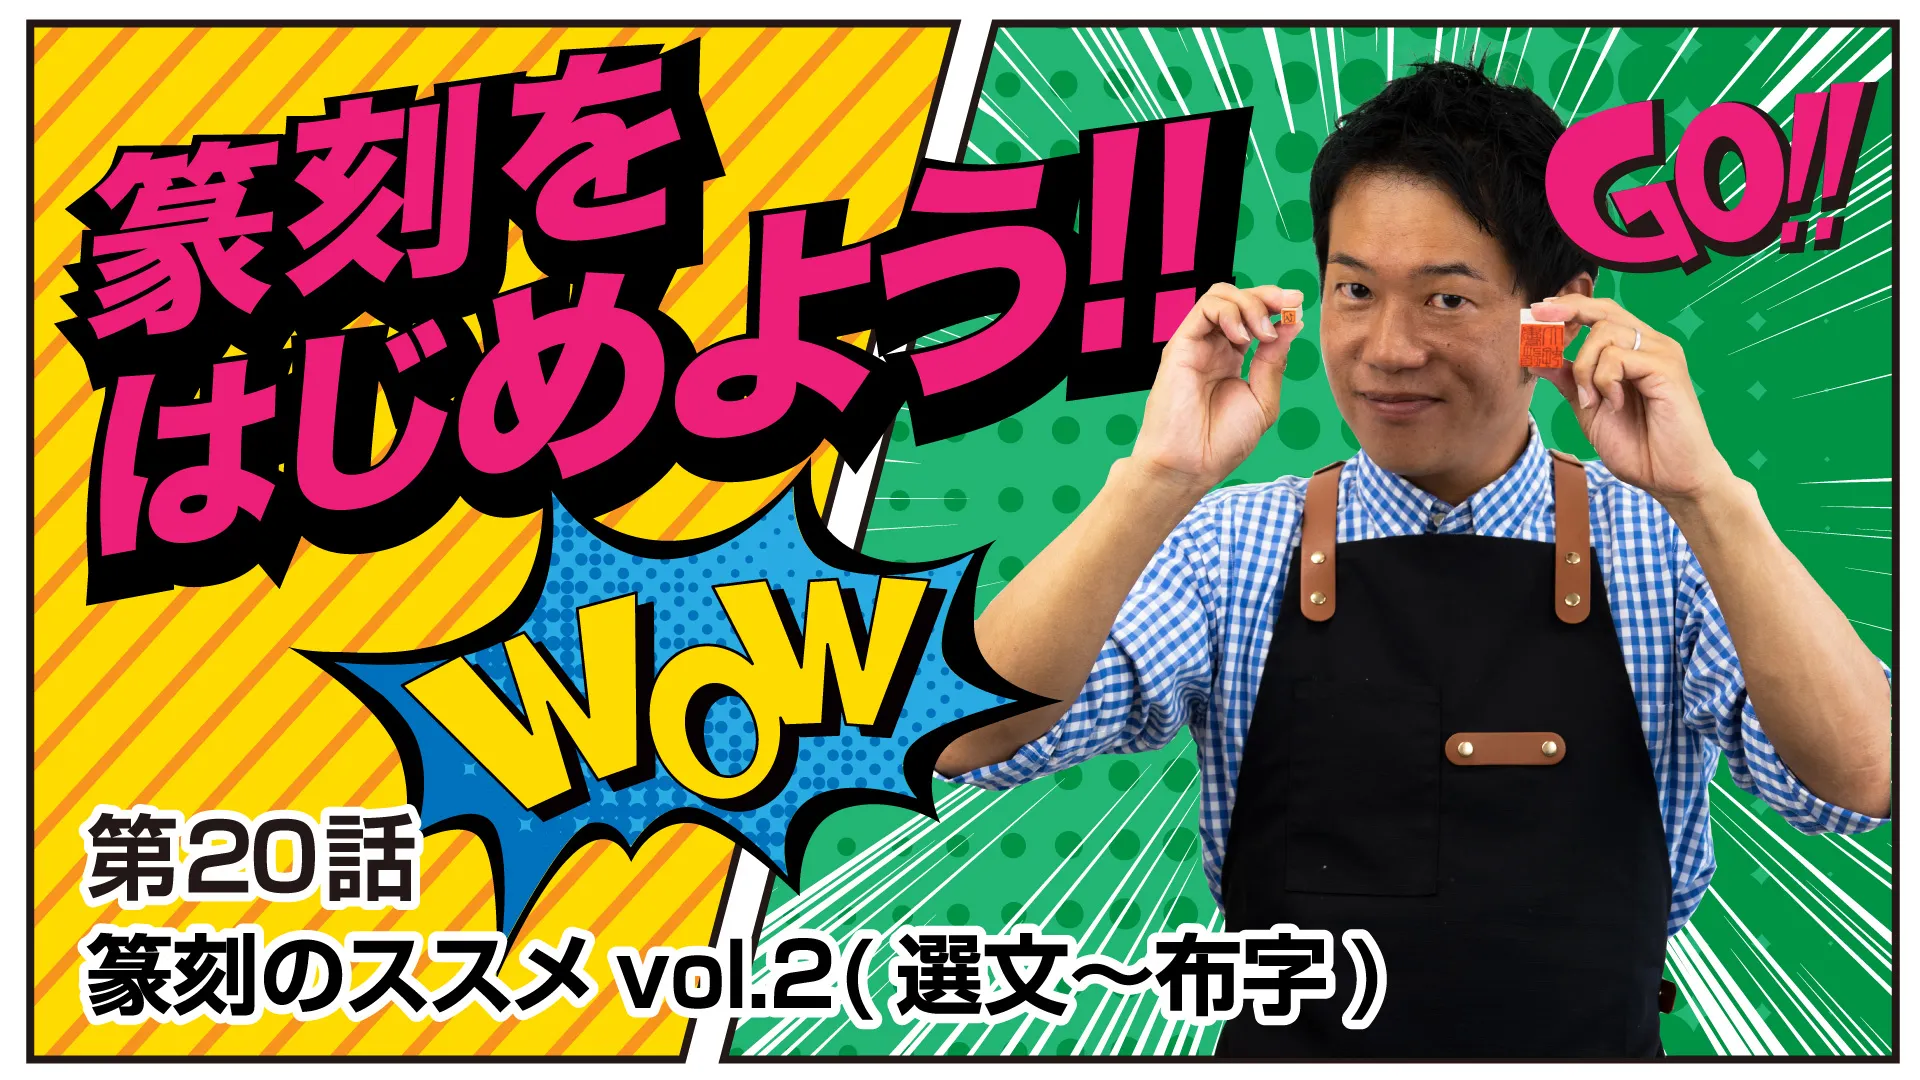
Seal Carving Recommended vol.2 (Selecting the Phrase → Layout)【Calligraphy】
Shodo Daisuki – Episode 020
“Shimauchi,” a man who loves calligraphy, explains seal carving (tenkoku) across three episodes!
Shodo Daisuki Episode 20 Video Overview
This is the second installment of a seal carving (tenkoku) demonstration and explanation video by Mr. Kakimichi Hiroyoshi (Shodō Daikō).
In the previous episode, he explained the tools. In this episode, he explains the process from creating the seal design (inkō), to leveling the seal face, and then transferring the design onto the seal stone.
At the beginning, he explains that “Shodō Daikō” is not his real name, but a nickname he gave himself.
He first explains the basic difference between hakubun (white characters that appear when stamped) and shubun (red characters that appear), and decides to carve the phrase “Shodō Daikō” in hakubun (white).
For the script style, he chooses inten (seal script for seals), explaining that it is a seal-script style from the Han dynasty designed to fit and carve well on a square seal.
As the formal method of making an inkō, he explains painting thick paper with ink, pressing a seal to take the outer frame, and then writing the characters. However, since that is difficult for beginners, he uses a simpler method here: writing the inkō directly on A4 paper, copying it, and using the “magic transfer method.”
To prepare the seal stone, he levels the seal face of a 25mm-square Balin stone using waterproof sandpaper (#600), applies ink and lets it dry, then carefully explains how to transfer the copied inkō.
He introduces two transfer methods: the “magic transfer method” and the “ganpishi (gampi paper) transfer method,” and demonstrates transferring both the kanji “Shodō Daikō” and a single hiragana character “hi” onto the seal stone.
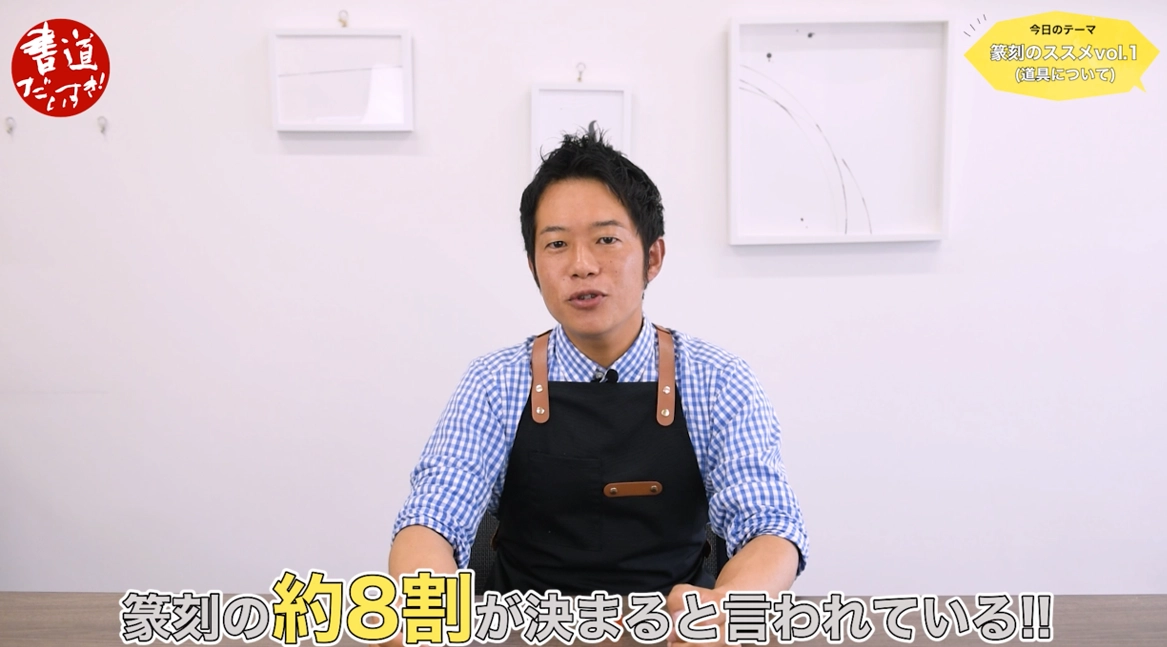
Finally, he emphasizes the important point that about 80% of the seal carving process is decided at the inkō-making stage, and closes by announcing that next time he will carve the seal and stamp it to complete the process.
YouTube Shodo Daisuki Episode 20
Shimauchi 00:00
Hi—this is Shimauchi, who loves calligraphy… well, actually: “Shodō Daikō,” who loves calligraphy.
I can almost hear you saying, “Wait, Shimauchi, what happened?” But once you see the on-screen text, you’ll probably go, “Ah, I see—so that’s why.”
Shimauchi 00:25
Well, since this is seal carving, I’ve already carved my full name plenty of times.
I wanted to carve something different—but unfortunately I don’t have an art name (gagō).
At least a pen name… though “pen name” sounds kind of weird here…
Shimauchi 00:40
So I thought: then I’ll just give myself a nickname—on my own.
And what I decided on was “Shodō Daikō.”
I’d like to go with this throughout, so please enjoy the remaining two episodes with a smile as you watch “Shodō Daikō.” Last time…
Shimauchi 00:58
I explained the tools, so in the last two episodes I’d like to move on to actual seal carving practice.
Let’s jump into the video right away. I’ll do my best!
First, you choose the phrase to carve—this is called senbun (selecting the phrase). When doing this, you need to decide whether you’ll carve hakubun or shubun.
Shimauchi 01:18
Hakubun means: when you stamp the seal, the characters appear white.
Shubun is the opposite: when you use cinnabar paste, the characters appear red.
Name seals are often carved as hakubun, while art-name seals are often carved as shubun.
This time I’ve decided to carve “Shodō Daikō,” so I need to decide what kind of character forms (kenji) to use…
Shimauchi 01:36
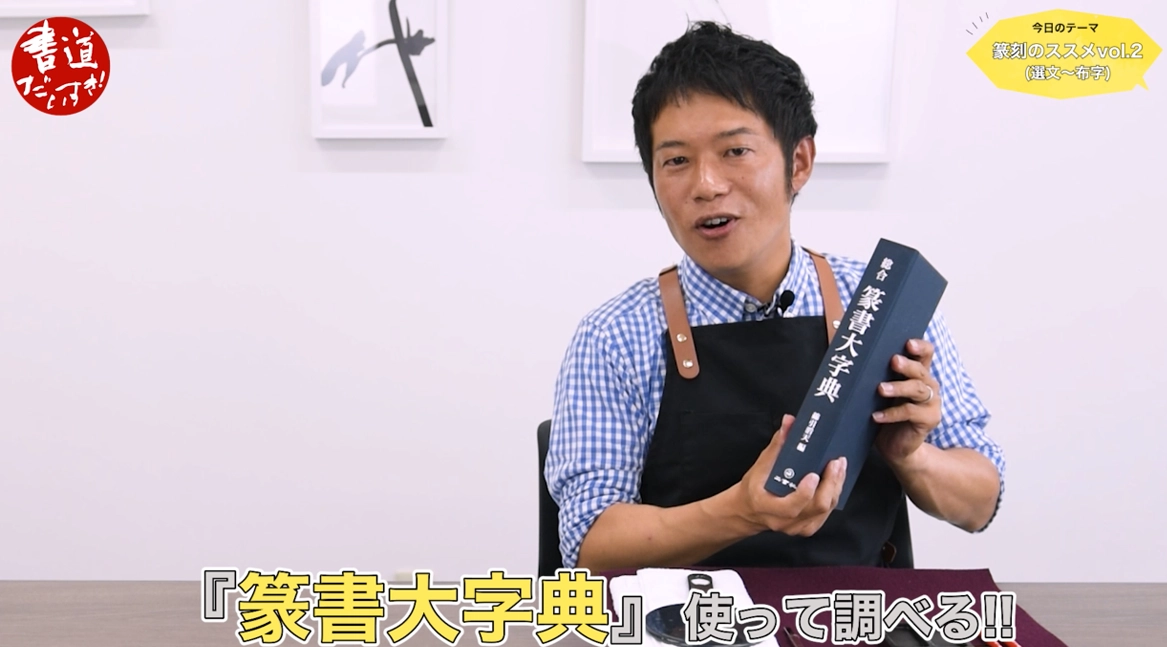
So I’m going to use this hefty dictionary.
Using the Seal Script Dictionary to research—this is apparently called kenji (selecting/inspecting character forms) or kōji.
Seal script itself has many types: oracle bone script from the Yin dynasty…
Then bronze inscriptions from the Western Zhou / Eastern Zhou, and also Warring States / Spring and Autumn era characters…
Shimauchi 02:16
Next, small seal script (shōten), used in the Qin and Han dynasties—said to have been standardized when Qin Shi Huang unified China.
In that famous Chinese film… you know, the one where if you get within ten steps you can use an assassination technique…
Anyway, small seal script shows up everywhere in that film—so cool.
Sorry, I got sidetracked—next is inten (seal script for seals).
Shimauchi 02:49
This was created in the Han dynasty and is designed to fit easily on square shapes.
The famous gold seal “Kan no Wa no Na no Kokuō In”—wasn’t that likely written in inten?
So this time, “Shodō Daikō”—I’ve decided: I want to do inten. I’ll challenge inten. Okay!
Next, the most important part: making the inkō (seal design).
Shimauchi 03:33
The “official” method is: prepare thick paper, paint it with ink until it becomes fully black, then press the seal to take the outer frame.
If it’s hakubun, you apply vermilion on top of that, then write the inkō in black ink.
For shubun, since the base is already black, you press the seal, draw the frame with red ink, and write the inkō in red ink.
Then, when laying out characters (fūji), you would handwrite the reversed characters…
Shimauchi 04:33
But that’s extremely difficult—too heavy a lift for “Shodō Daikō.”
There are convenient transfer methods, and since I want to use the magic transfer method this time, I’ll just make the inkō directly on copy paper from the start.
Even if you make a great inkō, you still have to write it reversed onto the seal… and that’s really hard.
So this time, I’ll… take an easier route. Not “cutting corners,” but introducing a method that anyone can do easily.
Shimauchi 05:41
Write the inkō on A4 paper, copy it with a toner copier, and transfer it using the magic transfer ink.
Then—surprisingly—you can get the characters neatly onto the seal face… or rather, transferred onto it.
That’s what I want to demonstrate.
So I’ll write the inkō on this paper now. I’ll start writing. It’s a bit plain, so I’ll probably fast-forward here. Done—inkō complete.
Shimauchi 06:35
Now, I’ve copied the inkō using a toner-style copier.
I’ve heard laser printers are no good, so please use a toner-style copier.
And here it is—ta-da! The “Shodō Daikō” inten inkō. I want to carve this as hakubun.
Next, I’ll start leveling the seal face.
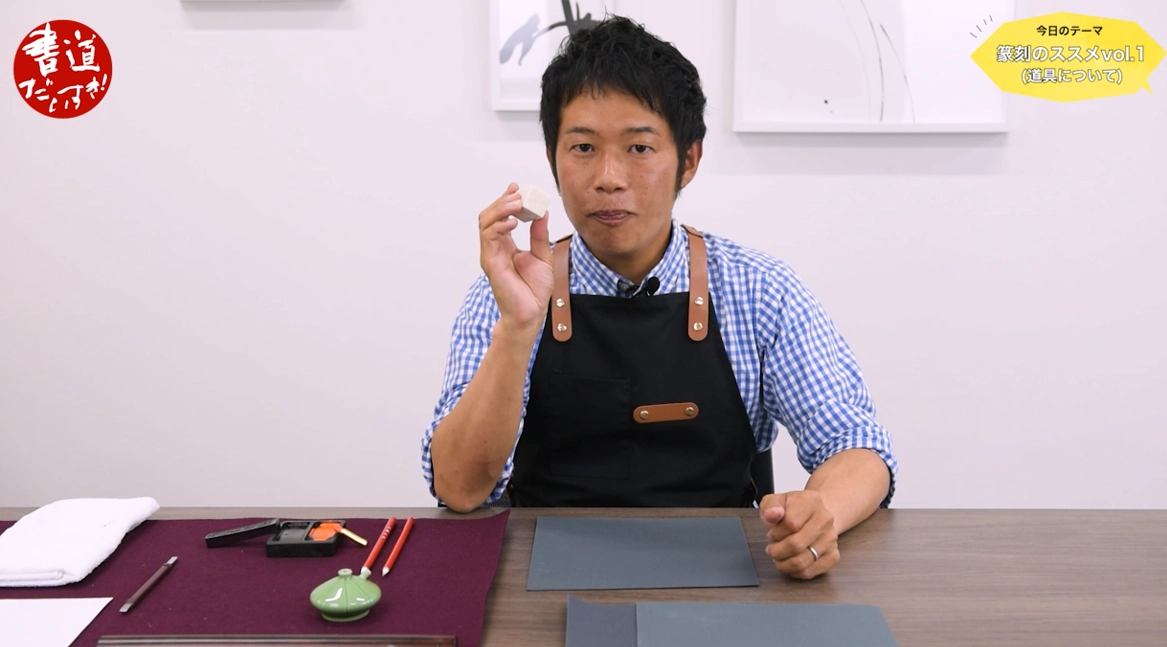
This time, the seal stone is a 25mm-square Balin stone…
Shimauchi 07:17
If you look closely, you can see scratches, and when you touch it, it’s a bit uneven.
First we level these bumps using waterproof sandpaper. Last time I introduced three types, and today I’ll use the medium one—#600.
Normally you’d do this on a glass plate because it’s flat, but it’s hard to prepare one these days, so I’ll use a very flat part of this desk instead.
Let’s do it—add some water… like when grinding ink, place the seal stone like this…
Shimauchi 08:21
If you hold it from above, it moves and you get uneven sanding, so hold it near the base—almost like you’re sanding your fingertips too—using the pad of your finger. Here we go.
Still, the corners are floating a bit… okay, is this good enough, everyone? It’s sitting flush now. Let’s say the seal face is leveled.
I used only #600 for a reason: some people want to polish it super smooth with finer sandpaper, but even if the seal face is smooth, the paper you stamp on is often uneven anyway.
So I prioritized “flatness” over making it perfectly glossy-smooth.
Shimauchi 09:41
Now we’re nearing the end of the video: we’ll do fūji (transferring/placing the design).
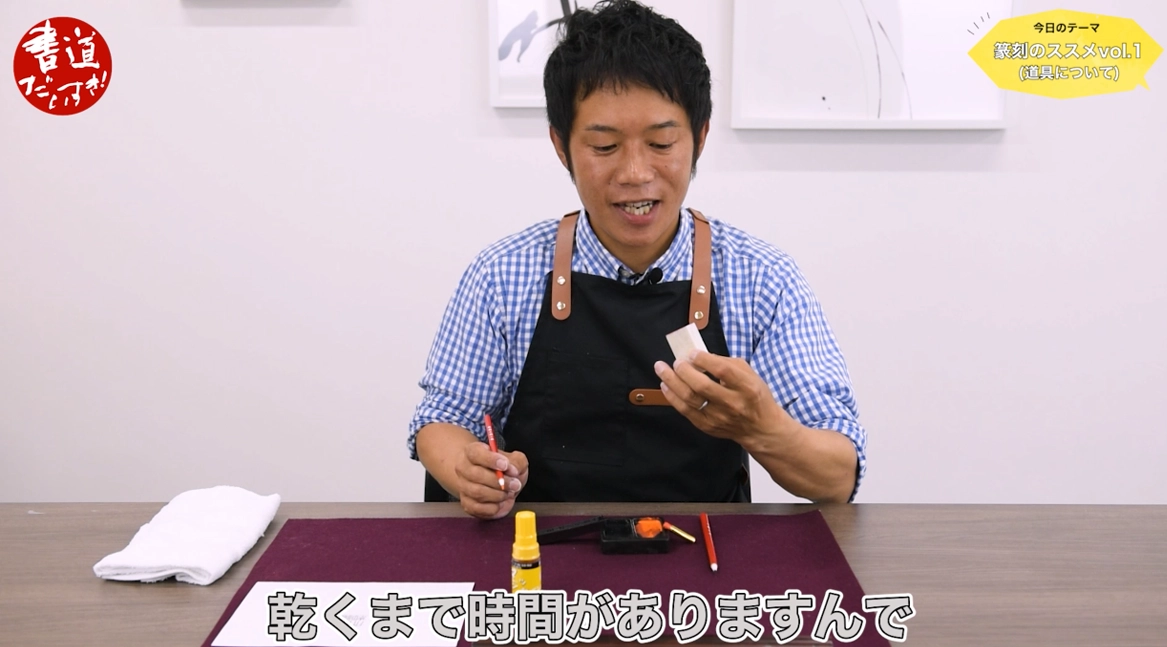
We cleaned the seal face with sandpaper—now we apply ink to the seal face. Okay. Let it dry for a bit.
Now that the ink on the seal face is dry, let’s do the magic transfer.
First, this is the inkō—this is the copied one.
How do we transfer it to the stone? Putting it on top like this is hard to see and not very practical, so I’ll do it my way.
Align the stone to the inkō perfectly—if it shifts, the whole transfer will be off, so this is crucial.
Hold it firmly and fold it around carefully… take the corners so no air gets in. People say to tape it down, but it’s already held pretty tight, so I’ll proceed.
Now the “magic ink” comes in—apply it from the back of the inkō. You don’t need to rub hard; just apply it evenly.
Oh, the black is showing through—great. Stop here and let it set a bit… then rub it (a bit of a lazy method), but firmly.
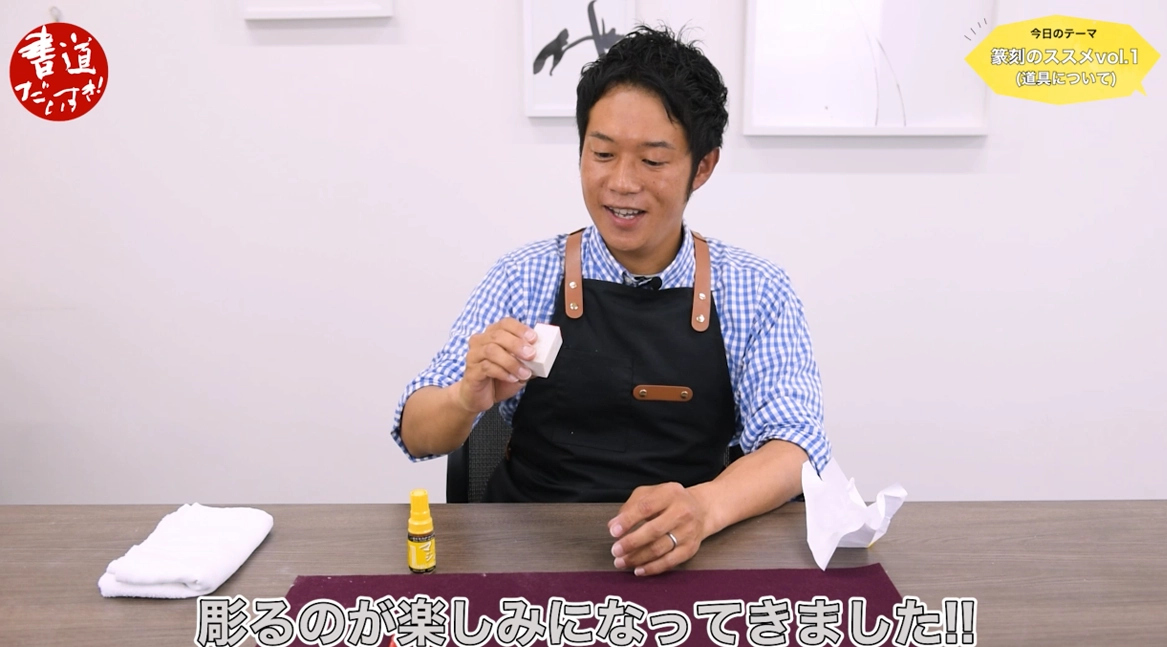
Okay—let’s open it with a countdown… 3, 2, 1—open! Woo! We did it! It may be hard to see, but it’s transferred.
If I tried to draw this with a brush, I could never get it this clean. The easy transfer method is amazing. Now I’m really looking forward to carving.
Shimauchi 13:51
This is really simple—success!
Next, I want to carve the hiragana “hi” in “Shodō Daikō.” I’ll carve this “hi” as shubun.
But instead of the magic transfer method, I’ll use a transfer method with regular ganpishi (gampi paper).
So we’ll start from making the inkō again—thanks for sticking with me.
This thin paper that makes a sound when you flick it—ganpishi—it’s thin, but tough.
I’ll make the inkō. I plan to use a 0.8 cm square stone, but one hiragana character on 0.8 cm might be big, so I’ll narrow the frame a bit to make it smaller.
Okay—will it turn out cute? Done: I wrote the “hi” inkō.
Next: leveling the seal face again. When the stone gets smaller, it’s often cleaner—nice square and the surface is already smooth. Quick pass—okay, flat. Apply ink and let it dry.
Now, for this transfer, if you write the inkō with bottled ink, it doesn’t transfer well—so remember to write with properly ground ink.
Same steps as before—then add a little water (I put it on my hand so it won’t drip too much), moisten the surface, cover with scrap paper, rub… and peel. Clean transfer again!
Done—one hiragana character transferred nicely.
This time we covered selecting the phrase, choosing character forms, making the inkō, leveling the seal face, and transferring (fūji). Up to this point, about 80% of seal carving is said to be decided.
By researching in dictionaries—oracle bone script, bronze inscriptions—you might find seal script more interesting than you thought. I hope you’ll feel, “Seal script is fun—I want to study it more.”
In this video, I focused on transfer methods to make seal carving feel more approachable, showing “It was this easy.”
Next time, we’ll finally carve the seal—and then stamp it. How will the name “Shodō Daikō” and the hiragana “hi” be carved, and what kind of seal marks will they become? Please look forward to it.
Since this is a continuing series, please subscribe and give it a like. That was “Shodō Daikō,” written as “Shodō Daisuki.” See you next time! I’ll appear one more time as “Kakimichi” too—thanks again!
Shimauchi 18:33
See you!
Related Products
Here are the products featured in this video.