Shodo Daisuki Episode 21
Shodo Daisuki Episode 21
Seal Carving Recommended vol.3 (Carving → Stamping + Troubleshooting!)【Calligraphy】
Shodo Daisuki – Episode 021
“Shimauchi,” a man who loves calligraphy, explains seal carving (tenkoku) across three episodes!
Shodo Daisuki Episode 21 Video Overview
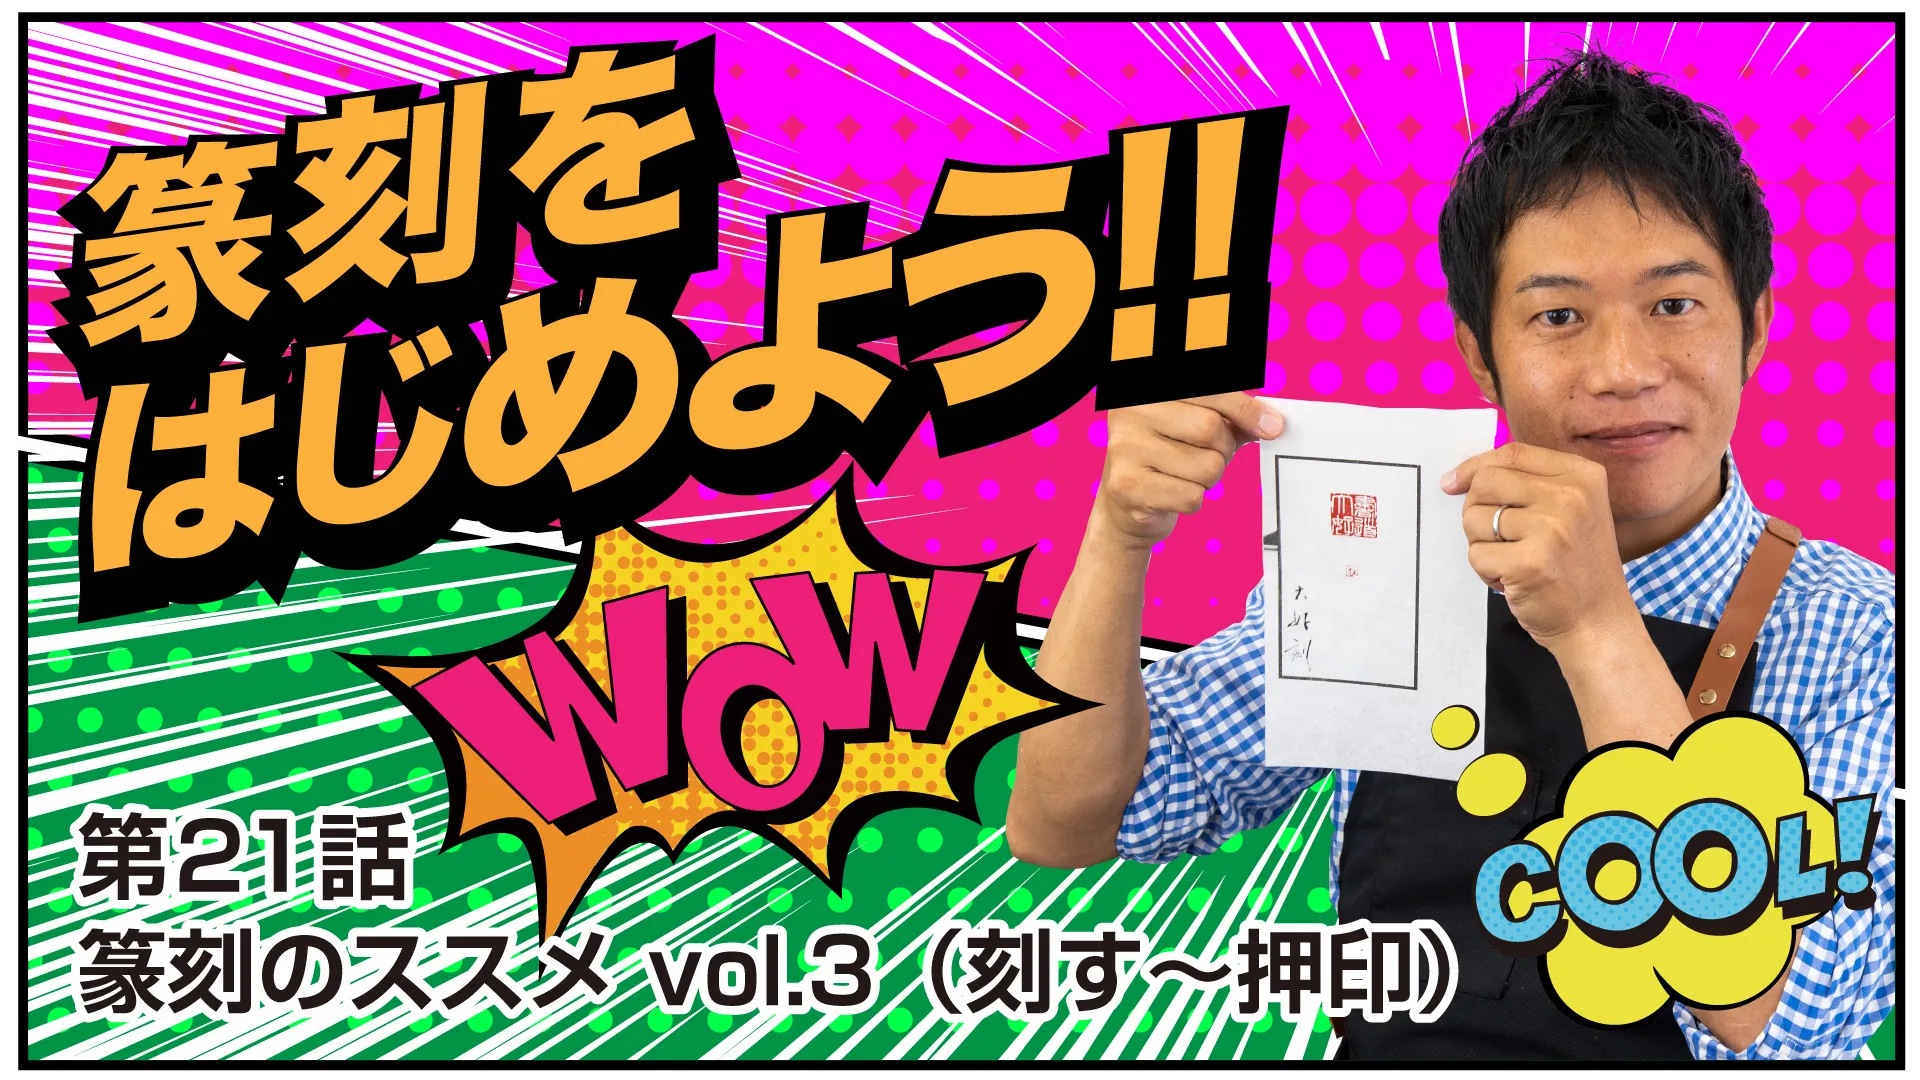
This is the third (hands-on) installment of Mr. Shodō Daikō’s “Seal Carving Series.”
Up through the previous episode, the seal script had been transferred onto the seal stone, and in this episode he explains the process of actually carving the seal and stamping it.
As the basic techniques for carving, Mr. Shodō Daikō introduces two methods: “hiki-tō” (pull cutting) and “oshi-tō” (push cutting). Based on his past injury experience, he chooses “oshi-tō” (push cutting) for this video.
For the material, he uses beginner-friendly “Balin stone,” which is soft and has good stickiness (toughness).
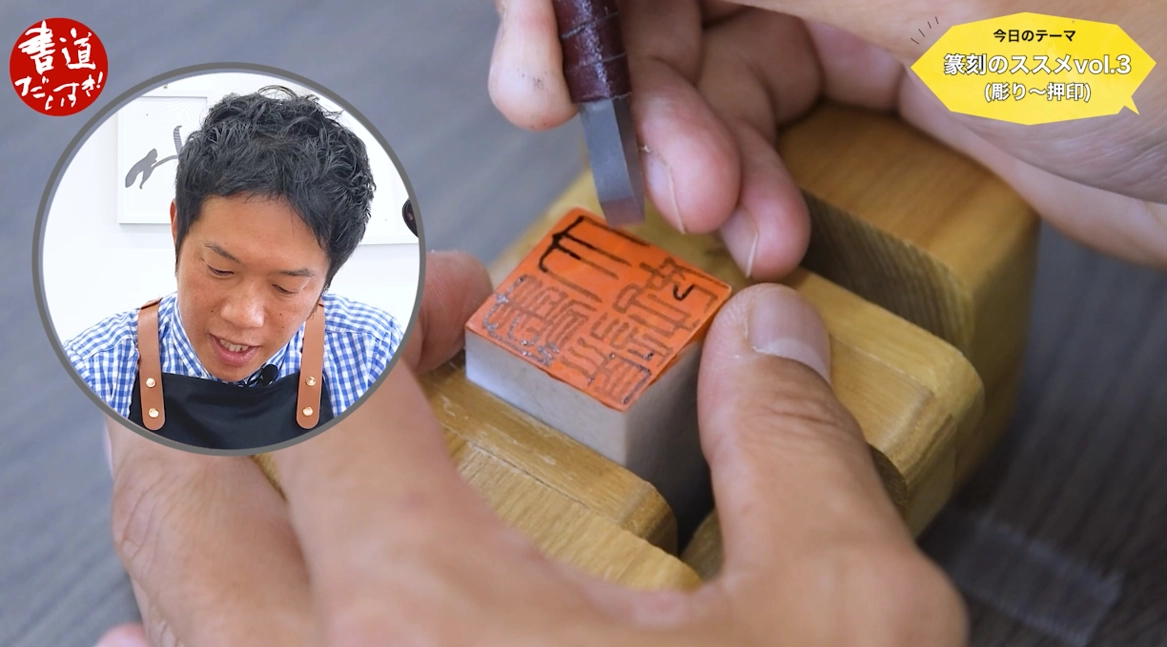
In the demonstration, he carves the character “Dai” in hakubun (intaglio / carved-in) and the character “hi” in shubun (relief / raised).
As a basic rule, he explains that for hakubun you place the knife on the right side of the line, while for shubun you place the knife on the left side of the line.
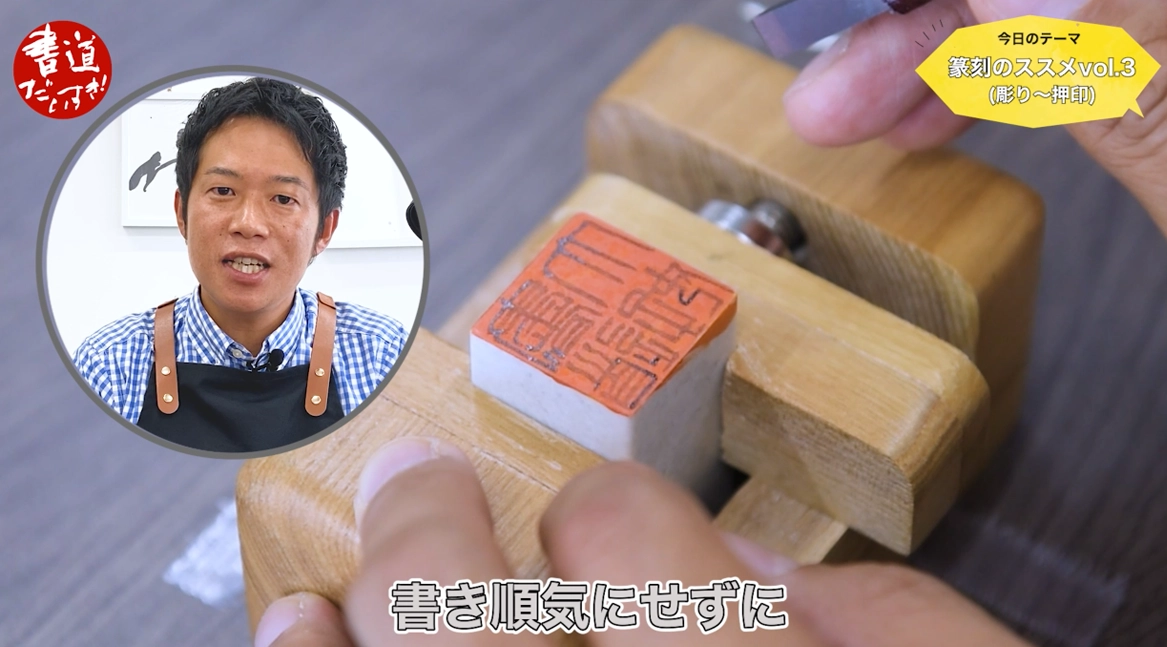
Regarding carving order, Mr. Shodō Daikō emphasizes “emptying the mind and carving single-mindedly,” saying there is no need to be overly strict about a fixed sequence.
As he proceeds, he demonstrates checking progress with test stamps and making corrections as needed. In the end, he stamps onto an in’ei sheet (test-stamp paper) and also touches on how to stamp onto an actual artwork.
He also explains troubles that can happen during stamping (paper peeling off, accidentally stamping upside down, etc.) and how to deal with them.
Finally, he emphasizes the joy of stamping your own artwork with a seal you carved yourself, and encourages viewers to try carving their own seals.
He concludes by saying that doing so will broaden the enjoyment of calligraphy even further.
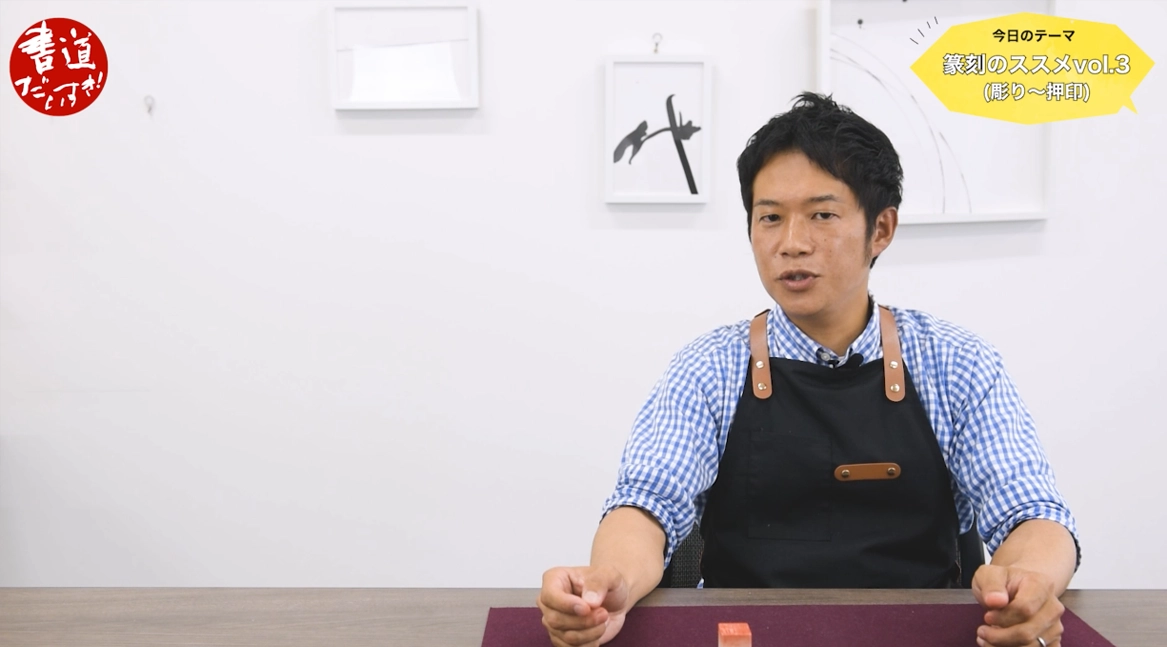
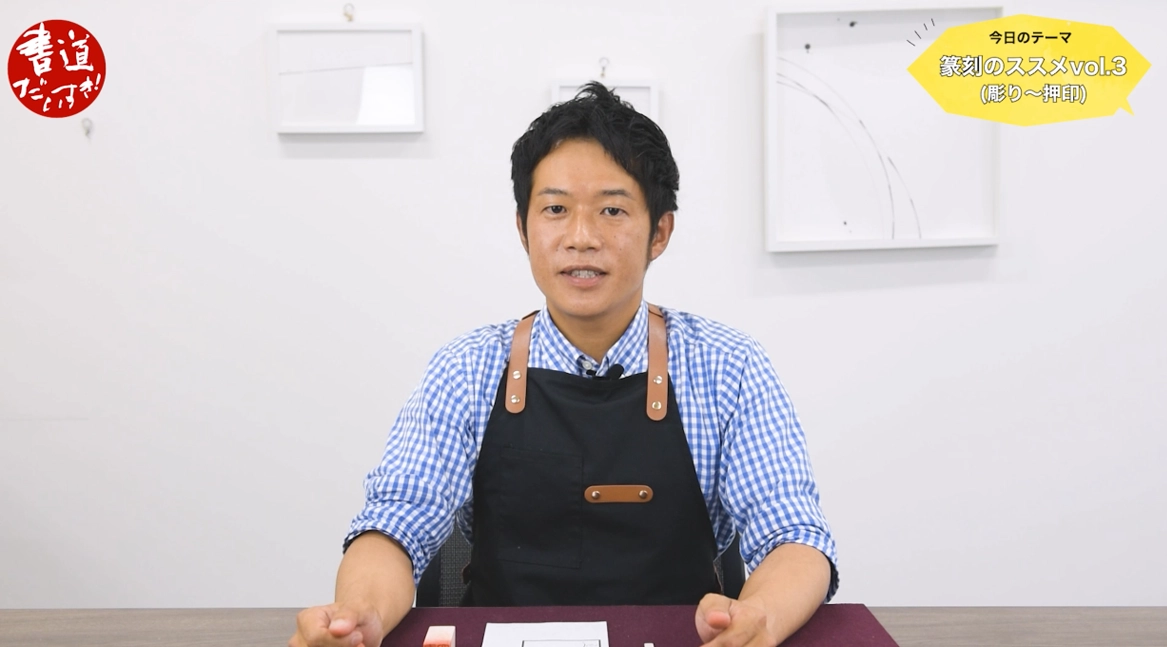
YouTube Shodo Daisuki Episode 21
Shimauchi 00:00
Hi—written as “Shodō Daisuki,” and read as “Shodō Daikō.”
Now then, at last, this seal-carving series has reached Episode 3.
That means there are Episodes 1 and 2, so if you haven’t watched them yet, I’d be very happy if you’d watch Episodes 1 and 2 first, and then…
Shimauchi 00:21
…watch this video afterward.
Up through the previous episode, we made it to the point of transferring the layout onto the seal stone for the “Shodō Daikō” name seal.
So today, we’re finally doing the practical part—putting the knife in and carving it.
And we’ll go all the way through stamping it, too.
Shimauchi 00:41
So please look forward to it.
I’ll also cover some small but important points to watch out for when stamping,
and some tips like “this is handy to do beforehand,” so I’d be really happy if you stayed with me until the end.
Shimauchi 00:56
Thanks in advance. All right—let’s get into practice.
Okay, we’re finally starting the practical part now.
Using the magic transfer method last time, we got a clean layout on this seal stone, but there were some hard-to-see parts, so…
Shimauchi 01:14
…I reinforced them like this with additional brushwork—basically adding ink where it was unclear.
Now it’s nicely laid out on the seal face, so all that’s left is to carve—do our best.
Next is the knife handling (untō)—how you move the knife as you carve.
There are two methods.
First is a method where you tilt the knife away from you and carve by pulling toward yourself—this is called hiki-tō (pull cutting).
And conversely, there’s oshi-tō (push cutting), where you push away while the knife leans toward your body.
Sometimes you brace with your left thumb like this.
Personally, hiki-tō scares me—because I still have a scar from an accident back then… a bitter memory.
So this time, I’m going with oshi-tō (push cutting).
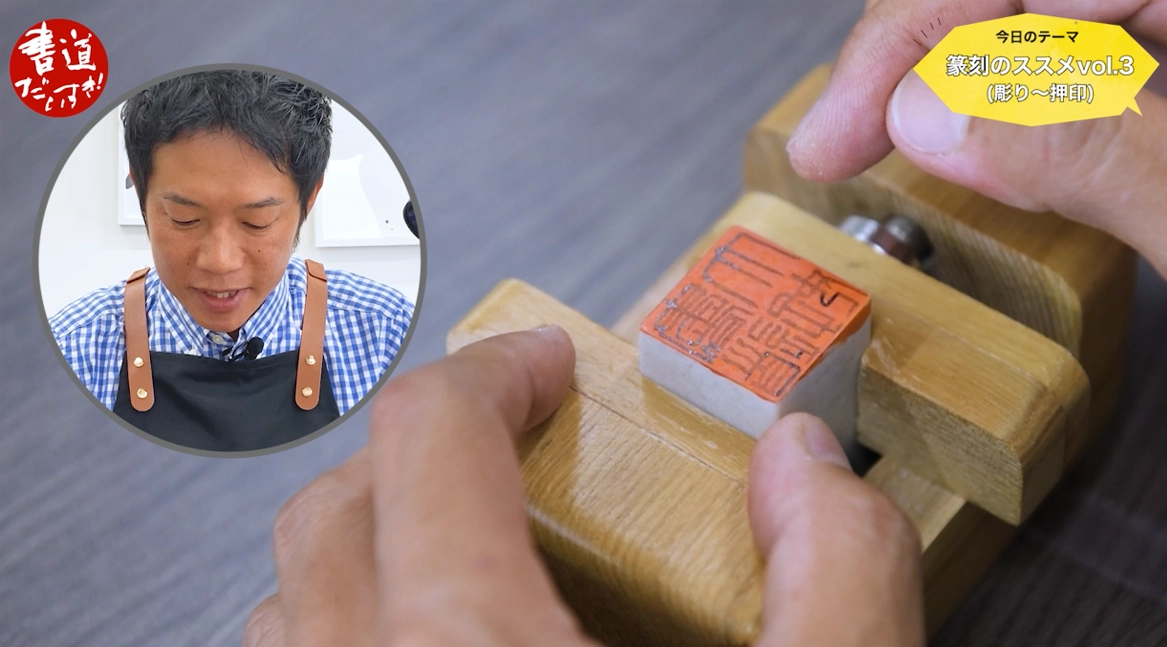
Also, ideally I wanted to hold the seal stone in my hand and carve in a cool way, but that’s tough—so I’m using the tool I introduced: the seal clamp/holder (inshō).
It’s firmly fixed in place—won’t move at all—so I’ll carve while rotating it vertically and horizontally as needed.
For hakubun carving, you place the knife on the right side of the line—meaning the line stays on the left of the knife as you carve.
For shubun, it’s the opposite: place the knife on the left side so the line stays on the right side of the knife.
That’s what they say is best.
So, I’ll try to follow that approach—though it’s not easy.
All right—let’s begin.
How will it turn out? I’m nervous.
Oh—one more thing I forgot: the seal stone is Balin stone.
Why Balin? Because it has good “stickiness/toughness” and is relatively soft, so it’s easier to carve and less likely to chip suddenly.
That’s why I chose Balin stone.
Okay—now let’s get to it.
Where you start and how you proceed can be up to each person. A professional might say there’s an order, but what matters is having the courage to carve.
So I won’t worry about stroke order—I'll empty my mind and just keep carving.
Let’s do this—“Ittō Nyūkon!” (One cut, all your spirit!)
But I’m a bit timid, so I’ll start with the character that has the fewest strokes… let’s go.
Shimauchi 07:31
I’ve been carving, and now I’m down to just leaving the corners.
How should I put it… there’s a real joy in carving single-mindedly.
I want to keep going at this pace.
All right—about this much? Let’s brush it off once.
Shimauchi 07:49
Scrub-scrub-scrub—then let’s do a test stamp and see how it looks.
Okay, moving on to the cinnabar paste. Apply it lightly—lightly.
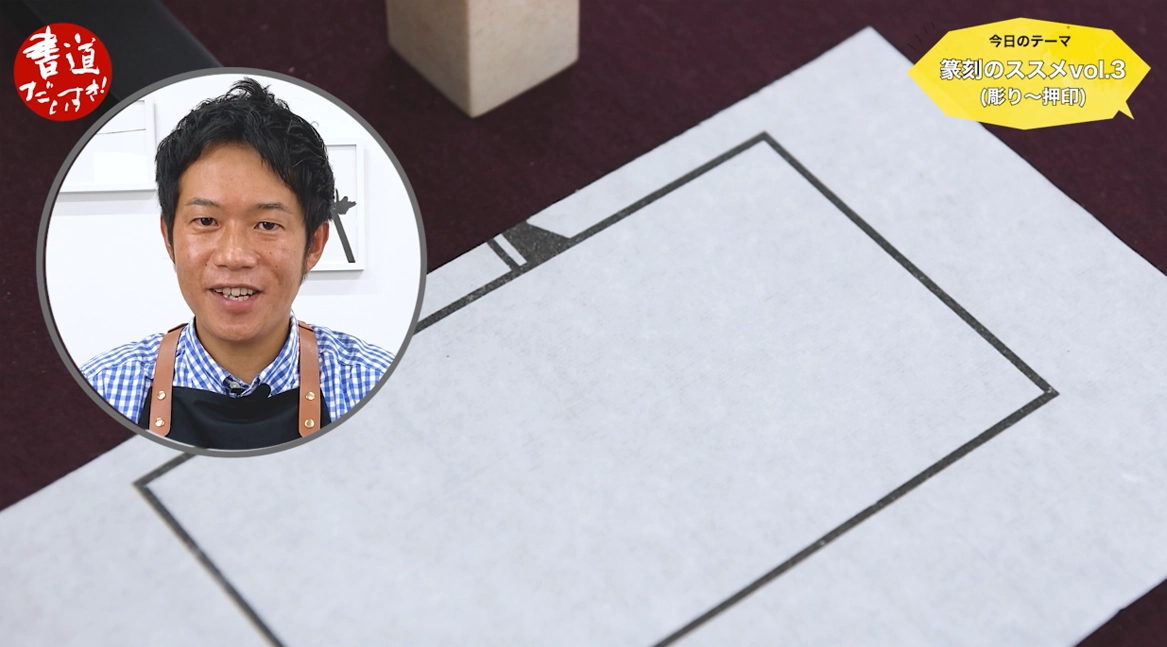
Under this gampi paper, I’ve placed a stamping pad (injoku-dai) as a substitute for an underlay.
And this is the guide frame (inku). The chamfered side goes down—don’t mix that up.
All right—let’s test it. How will it look? Press… and lift.
Shimauchi 08:35
Ohhh—nice! It has a vibe!
My paste application was a bit weak in places, but isn’t it carving pretty well?
Still, compared to the original design, there are spots that feel like “not enough has been carved,” so next I’ll do “hotō” (supplementary carving), carving more so it gets closer to the design.
When that ink transfers onto your fingers, wipe it off with a cloth like this, or rinse and clean it, then carve again, apply paste, stamp again—repeat until you’re satisfied and it matches the design more closely.
Shimauchi 09:37
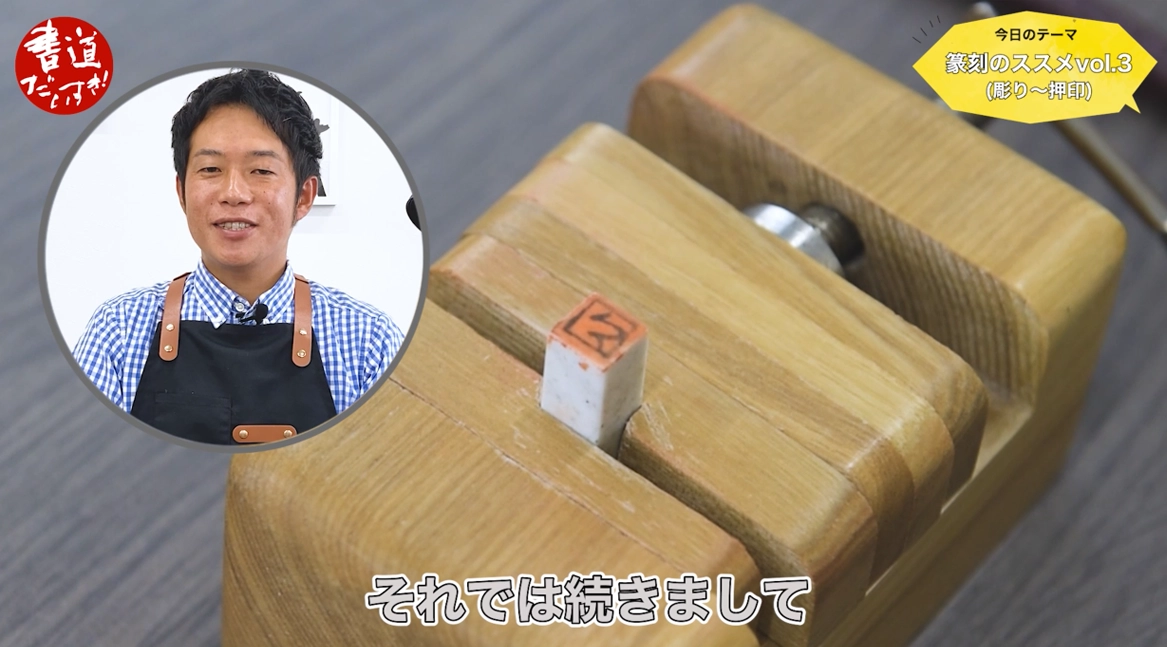
Next, I’d like to carve a single hiragana “hi” as shubun (relief). This stone is also Balin stone, 0.8 cm square like before.
But even 0.8 cm feels a bit large for a single hiragana character, so I think the actual inner frame is probably around 0.5 cm square.
I’ll challenge this. To be honest, I’ve never carved such a tiny seal before, so this will be a real “wing it” attempt—wish me luck!
As I explained, for shubun you keep the line on the right side, so let’s start around here on the left… We don’t need this area, so let’s boldly carve it away.
All right—let’s keep carving like this. The video will probably speed up here, but I’ll do my best to finish. “Ippitsu Nyūkon, Vol. 2!” (One stroke, all your spirit—second round!)
Shimauchi 11:01
All right—let’s pause and do a test stamp again.
Since I carved the hiragana “hi,” I’ll test stamp it once. Same as before: stamping pad underneath, and the guide frame here.
Remember: chamfered side down. Please don’t forget that.
I’ll apply the nicely rounded paste lightly. Press lightly. Okay—lift… oh!
It’s kind of… cute. Cute, or how should I put it… You can read it as “hi,” so it’s a success.
But it looks a bit rough as-is, so I’ll do some more supplementary carving.
Shimauchi 12:26
Now then, with the name seal in hakubun and the single “hi” in shubun finished—at least to my satisfaction—I’ll stamp them onto the final seal paper (insen).
This insen paper is very fine-textured and smooth, but paper can still have unevenness.
Some people say rubbing it a bit can help get a cleaner stamp, so I’m copying that technique here—using the rounded back of the seal to rub lightly. No idea if it’s “correct,” but let’s go.
Underneath is the stamping pad, and we have the guide frame—again, chamfered side down.
Also, it’s said stamping a bit above center looks better than dead center, so… around here?
I’ll stamp both together quickly: first the hakubun name seal on top, then the shubun “hi” below.
Apply paste—since it’s hakubun, apply firmly but lightly, and I’ll stamp while checking the back a bit.
Press firmly… open! Wow! Maybe I didn’t apply enough paste in the center, but it’s aligned nicely.
Now the shubun “hi”—this one was tiny and really hard. Around here? It’s so fine, so just a very light touch… okay—nice.
Since I carved it myself and stamped it myself, let’s write in the rakkan too. Around here? Okay—done. Completed.
Shimauchi 15:46
Stamping is like the finishing touch—“the final stroke that brings the dragon to life.”
Where you stamp can change the whole work, so deciding the placement is always something you agonize over.
I’d like to make a separate video about stamping methods and explain it in detail then, but for today I tried stamping in various ways.
And since we stamped, it’s useful to make what’s called an “in’ei” (test-stamp sheet) like this.
When you’re about to stamp an actual artwork’s rakkan area, you can use it to decide placement—very handy.
So it’s good to make the seal and the in’ei sheet as a set.
Shimauchi 16:28
Next, when stamping, accidents and surprises are bound to happen.
You might think, “What kind of surprises?”—but there are some shocking ones.
One depends on the paper compatibility, and another depends on the paste… but sometimes you press really hard thinking “I stamped it nicely,” and when you lift it up… the paper peels off with it.
That’s like, “No way…” but it really happens—especially with soft white paper. So keep in mind that it can happen.
And the second trouble—this is the one that really crushes you:
You finally finish a great piece, you write the rakkan perfectly, all that’s left is the seal… you decide the spot… you stamp… then you lift it up and—what?! It’s upside down.
Ugh—rewrite? But sometimes you can’t rewrite it.
In those moments, don’t give up. There’s another way.
Many works get backed (urauchi), so this is where you rely on a mounting specialist (hyōgushi).
You make a correct stamp on another sheet using the same paper and same paste, then bring both that correct stamp and the failed work to the mounter and ask them to swap it in.
They can cut it out neatly and replace the stamped impression.
Up close, you might notice something, but in typical exhibitions where people view from a distance, they can finish it so you basically can’t tell.
So that method exists—never give up. Knowing this makes a big difference.
So even if these accidents happen, you can handle them.
All right—how was the “Seal Carving Recommended” series over three episodes? Did it come across clearly?
Shimauchi 19:09
Now, looking at the seals I carved myself… you know, the more you struggled carving them, the more attached you feel.
I can’t help but grin—it’s true.
And lastly, the message I really want to convey is this: please, stamp your own work with a seal you carved yourself.
I really want you to do it. Skill level doesn’t matter.
Stamp a piece you worked hard to write with a rakkan seal you worked hard to carve—then you’ll definitely feel something like, “Hey, this is pretty good.”
I want you all to share that feeling of “I’m glad I did it.”
If that reaches you, then it was worth making and sharing this three-part seal-carving series.
So I’ll say it again (I know I’m persistent): please try carving your own seal.
By doing so, you’ll find one more layer of enjoyment in calligraphy—so please give it a try.
Thank you very much. Written as “Shodō Daisuki,” and delivered by “Shodō Daikō.” See you again.
Shimauchi 20:36
Goodbye,
Related Products
Here are the products featured in this video.